

Black and white photography holds a unique place in the world of visual art. Stripping away color forces you to focus on light, shadows, shapes, and textures, creating a timeless appeal. But once you’ve mastered the basics—like high-contrast scenes and looking for texture—where do you go from there?
That’s what we’ll explore today!
With these five advanced black and white photography tips, you can see the world differently and elevate your work, too. Whether you’re looking to experiment with exposure, tone, or even grain, these tips will give you new ways to approach your craft.
Let’s dive into some techniques that go beyond the fundamentals so you can control the nuances of black and white imagery like a pro!
Table of Contents
- Black and White Photography Tips: Mastering Zone System Exposure
- Tonal Separation with Color Filters
- Black and White Photography Tips: Exploring High-Key and Low-Key Images<
- Creative Use of Noise and Grain
- Black and White Photography Tips: Print Your Black and White Images
Black and White Photography Tips: Mastering Zone System Exposure
One of the more advanced black and white photography tips is to learn and master the Zone System. This technique, developed by Ansel Adams, goes beyond just ensuring your subject is properly exposed; it allows you to control the tonal range across your entire image. You can learn all about it in the video above by The Art of Photography.
The Zone System divides a scene into 11 different zones, ranging from pure black to pure white, with various shades of gray in between. The beauty of this system is that it allows you to pre-visualize how your photo will look in black and white even before you press the shutter. With practice, you can assign parts of your scene to specific zones and adjust your exposure accordingly, either in-camera or in post-processing.
For instance, let’s say you’re photographing a landscape with deep shadows in the foreground, mid-tones in the grass, and bright highlights in the sky. By understanding the Zone System, you can decide how much detail to keep in the shadows and how bright you want the sky to be. This kind of intentional exposure helps ensure your black and white photo has the tonal depth and complexity that sets it apart.
Tonal Separation with Color Filters
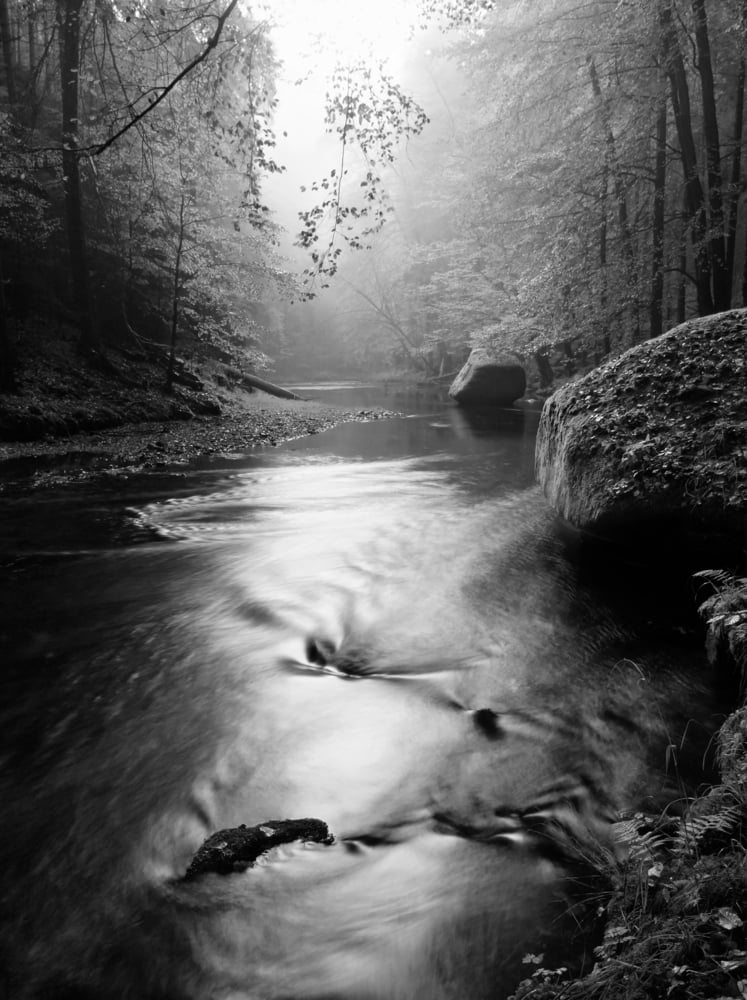
Photo by rdonar via Shutterstock
When it comes to black and white photography, one of the biggest misconceptions is that color becomes irrelevant. That’s not true at all! In fact, the way different colors are translated into grayscale can dramatically affect the outcome of your images.
Using color filters—whether in post-processing or with physical filters on your lens—can significantly alter the tonal relationships in your shot. For example, a red filter will darken blue skies, making clouds stand out starkly against the backdrop. Meanwhile, a green filter can enhance foliage, brightening greenery and adding texture to nature shots.
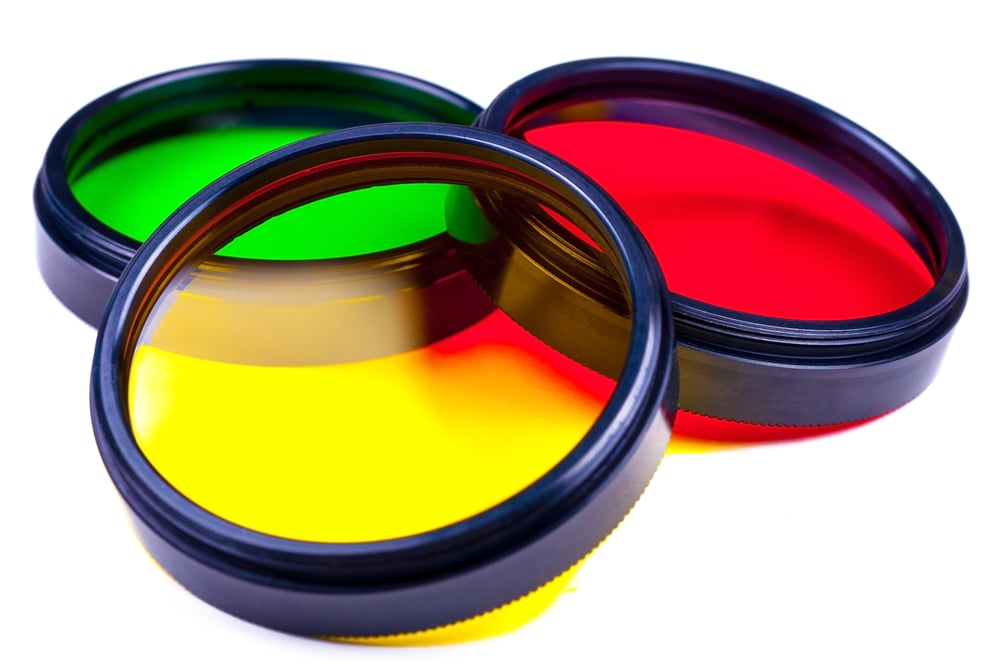
Photo by kiri11via Shutterstock
For advanced photographers, this is one of the black and white photography tips that opens up creative possibilities. You’re no longer just working with light and shadow—you’re manipulating how colors convert to different shades of gray.
Try experimenting with digital filters or use physical red, orange, yellow, and green filters on your lens to see how they alter tonal separation. You’ll find that these adjustments can make all the difference in crafting a visually compelling black and white image.
Black and White Photography Tips: Exploring High-Key and Low-Key Images
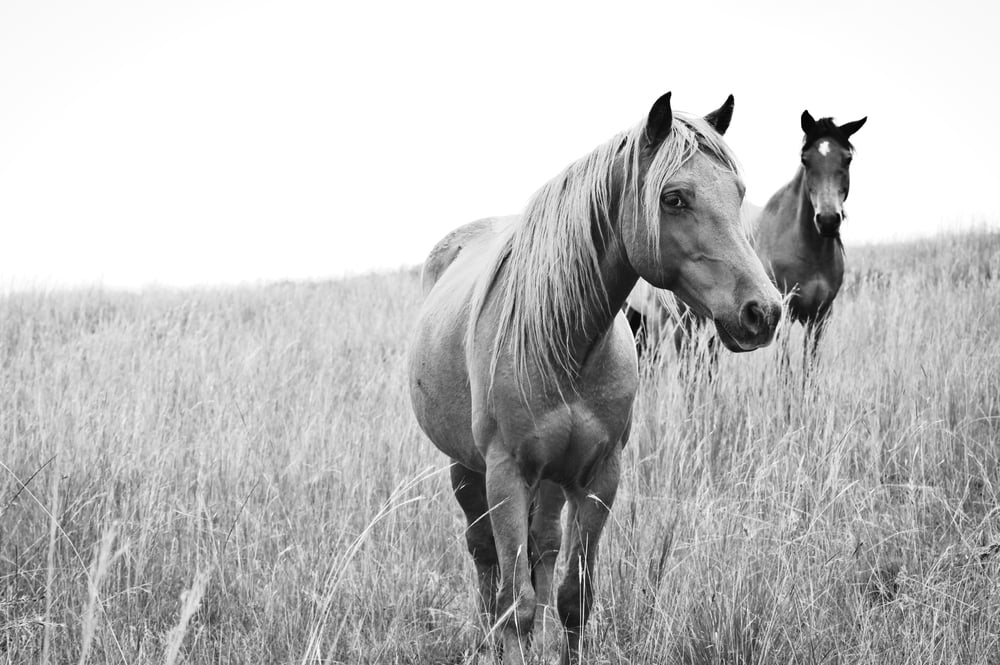
Photo by Werner Stoffberg via Shutterstock
Another powerful technique in black and white photography is mastering high-key and low-key images. High-key images are bright, with minimal contrast and shadows, while low-key images are dominated by dark tones, creating a moodier and more dramatic effect.
Both techniques require careful lighting and exposure adjustments. In high-key photography, you’ll want to minimize harsh shadows and keep your image light and airy, yet still full of detail, as shown above. Low-key photography, on the other hand, emphasizes shadows, with selective highlights that bring focus to specific elements within the frame.

Photo by Stefano Buttafoco via Shutterstock
What makes this one of the more advanced black and white photography tips is the fine balance required between exposure and lighting. You don’t want your high-key images to look washed out, and you don’t want your low-key images to lose too much detail in the shadows. Pay close attention to your camera’s histogram while shooting and in post-processing to ensure you’re retaining the dynamic range you need.
Advanced photographers often use high-key and low-key photography to evoke specific emotions—high-key for a clean, light-hearted feel and low-key for moodier, more intense vibes. These styles work beautifully in black and white, where contrast and tone take center stage. Experiment with these types of lighting and the emotions they evoke; you’ll find a whole new world of black and white photography opens up for you!
Creative Use of Noise and Grain
Photo by Jorge Elizaquibel via Shutterstock
Usually, sharpness and clarity are the priority in photography, so embracing noise or grain might feel counterintuitive. But in black and white photography, grain can add texture and atmosphere to an image, mimicking the look of classic film.
One of the more overlooked black and white photography tips is to experiment with noise as a creative tool, rather than seeing it as a flaw. If you’re shooting in low light or with a high ISO, instead of worrying about reducing noise in post-processing, embrace it. Grain can enhance a moody scene or add an element of grittiness to street photography, as just two examples.
Adding grain in post-processing can help evoke the nostalgic feel of analog film, too. Many editing programs, like Adobe Lightroom, even offer grain sliders to control the intensity and style. Use this technique intentionally to add a tactile quality to your black and white images, especially when photographing subjects that benefit from a sense of roughness, like urban landscapes or portraits with dramatic lighting.
Black and White Photography Tips: Print Your Black and White Images

The previous four tips all dealt with the process of creating black and white images. Well, there’s a final component to making the best photos – printing them!
Now, obviously, you shouldn’t print every photo you create, but printing your best work is definitely good practice. Why? It’s simple! Having a physical print allows you to see your work up close and personal. Looking at a large print on the wall gives you a better opportunity to examine your photo, what works, and what isn’t quite right.
Moreover, printing your best images allows you to understand how what you see in the camera’s viewfinder and on your computer screen translates to a physical print. It isn’t always spot-on, and understanding how prints are different will help you in your photo-making process moving forward.
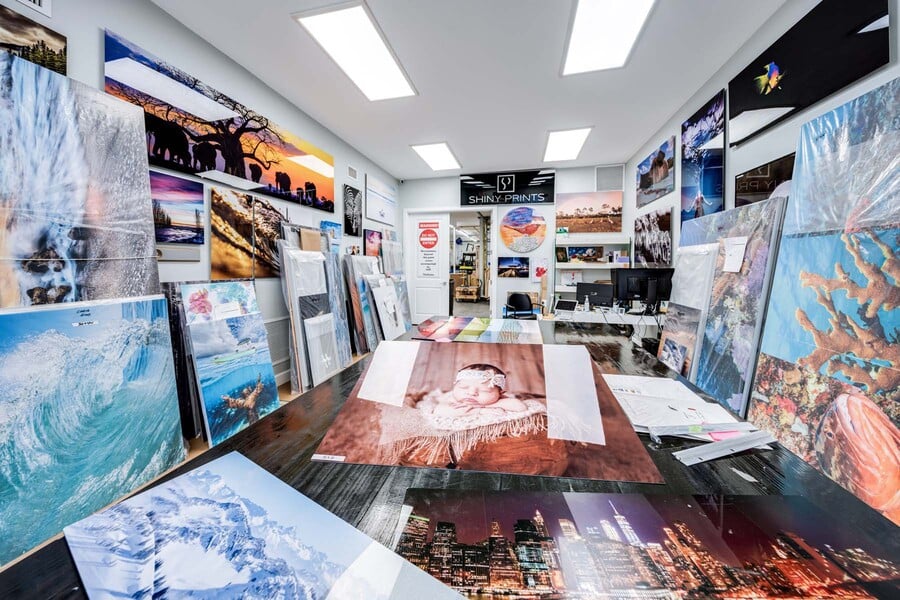
As I discuss in my video above, I got a print from Shiny Prints a while back that just blew me away. From the colors and contrast to the sharpness and quality of the print, Shiny Prints knocked it out of the park.
I’m sharing this because when you print your best images, you want to get the most bang for your buck, and Shiny Prints certainly fits the bill. You can get a gorgeous metal print that’s beautifully made and is affordable, too. It’s a win-win!
Besides, metal is a fantastic substrate for black and white images, especially landscapes. The clean, modern look of the print lends itself to the pared-down vibe of black and white images. And when you get a large-format print, the beauty and simplicity of the composition and the print are elevated even further.
Not All Printing Companies are Made Alike
There are a lot of printing companies out there, so you have your pick of dozens of options. But not all printing companies are the same. Many printers focus on too many things – hats, bags, mugs, metal prints, canvas prints, and so forth. Sometimes, that means the quality of the product suffers because the artisans are focused on a million different things.
But Shiny Prints creates just one type of print – metal. That focus allows them to hone their skills and make prints that are second to none. Don’t take my word for it, though! Visit Shiny Prints today to see what your black and white photos (and color ones, too!) might look like on a big, beautiful metal print.
Our articles might have affiliate links and the occasional sponsored content, but don’t sweat it – if you buy something, we get a little kickback at no extra cost to you, and we only hype products we truly believe in!
Learn More:
Hero photo by Joe Belanger via Shutterstock.
Comments are closed.