

Feeling stuck in a photography rut? It happens to the best of us! There are times when I feel utterly hopeless about getting my groove back. And if you’re here to read this article, you must be in the same boat.
This too shall pass, though! Especially if you’re proactive.
When creativity stalls, it’s time to explore new techniques and perspectives. Doing so will reignite your passion for photography, and might just help you find a new genre that excites you!
Below, I’ve outlined some unique and unusual creative photography ideas to help you break free from routine and discover fresh inspiration. Let’s dive into the world of creative photography and explore five innovative techniques that can transform your work!
Table of Contents
- Creative Photography: Print Your Work
- Creative Photography: Lensball Photography
- Creative Photography: Infrared Photography
- Creative Photography: Light Painting
Creative Photography: Print Your Work
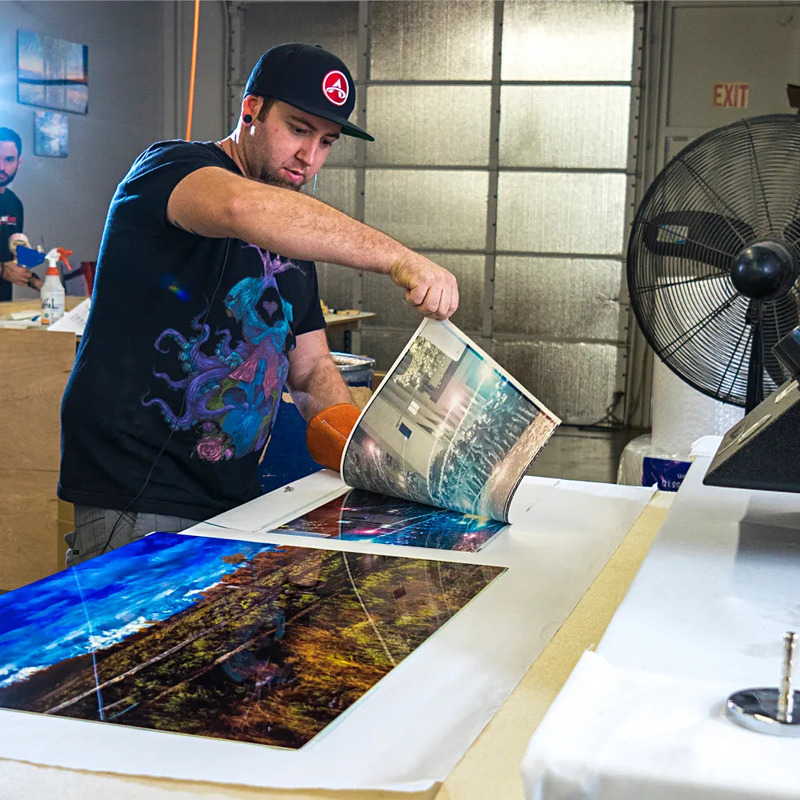
Image Credit: Artbeat Studios
Printing your photos is a fantastic exercise when it comes to creative photography. On the one hand, you have to review your image and select the best ones to print, which helps you develop your creative eye and identify what works and what doesn’t from technical and creative standpoints.
On the other hand, you’re also required to edit your best work to make it truly shine. Sometimes, all you need is a productive post-processing session to kickstart your creative juices! The moment when you get your edits just right and your image pops off the screen can be really addictive.
But viewing your photos on your computer screen pales in comparison to seeing your creative photography hanging on your wall. There’s something to be said for the experience of seeing one of your photos in person – being able to touch it and experience the view as you gaze at the wall is so much more satisfying than looking at a computer (for me, anyway).
There are some “rules” you should be aware of when printing your photos, though…
Rules for Printing Photos
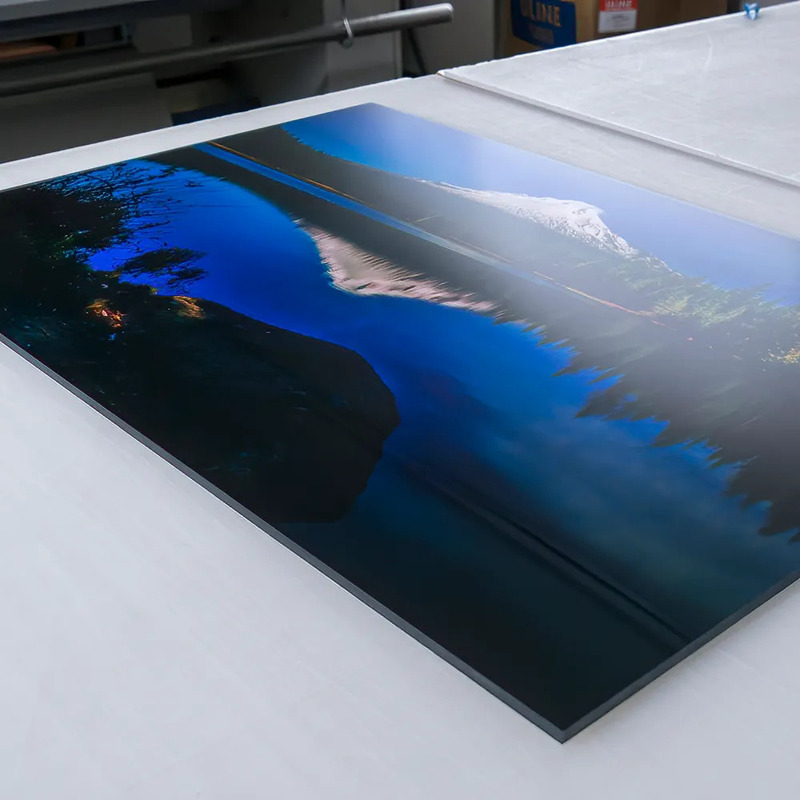
Image Credit: Artbeat Studios
First, don’t print every photo you take. Not only is that expensive, but it’s not necessary. Cull your collection to just a few examples of your best work and have them printed. Related to that is a second point – ensure the image files you send to the printing company are the right size, both in terms of the physical size of the image and the file size. Not paying attention to directives on those fronts can delay the process.
This brings me to my third rule – be careful what printing company you use. Online printing companies are ubiquitous these days, but not all are made alike. That’s why I’ve spent the last handful of years testing metal, acrylic, and canvas prints from companies far and wide, so I could determine which ones are worth my hard-earned money.
As I discuss in my video above, over and over again, Artbeat Studios has risen to the top of the heap in terms of quality. And this is true whether it’s a metal, canvas, or acrylic print. These folks simply know how to make a gorgeous photo to display on your wall.
How Artbeat Studios Can Help
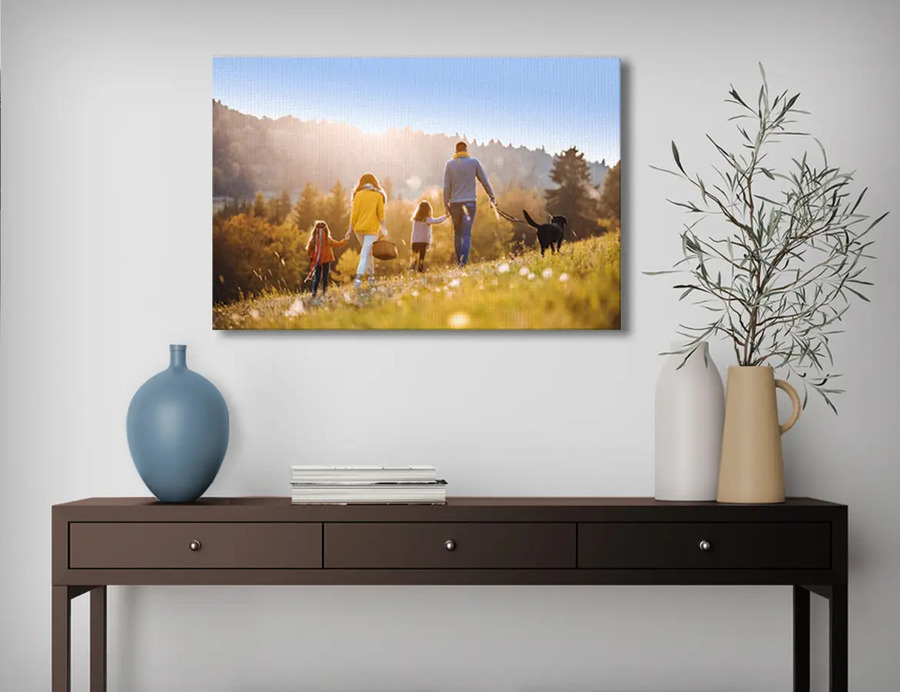
Image Credit: Artbeat Studios
The Artbeat Studios team offers a variety of options for printing your photos, too. Aside from the substrates I listed above, you can choose from a virtually endless number of sizing options. Combined with various types of frames, mounts, and finishes, you can really dive deep to develop a print that speaks to the specific subject matter or your style.
What’s more, ordering a print from Artbeat Studios couldn’t be simpler. They’re headquartered here in Southern California, and their team of experts is at the ready to take your order and answer any questions. I’ve met most of the Artbeat team in my visits to their shop, and I have to say that these folks aren’t just supportive of their clients’ needs and wants – they downright bust their butts to ensure each client gets a top-quality print.
And that’s what it’s all about – you work hard to create a beautiful print, and you want your printer to work equally as hard to ensure your photo shines. There aren’t many companies that equal the experience of working with Artbeat, so if you are desperate to get out of a creative funk, check out Artbeat Studios’ lineup of products, get a print ordered, and be ready to be impressed!
Creative Photography: Lensball Photography
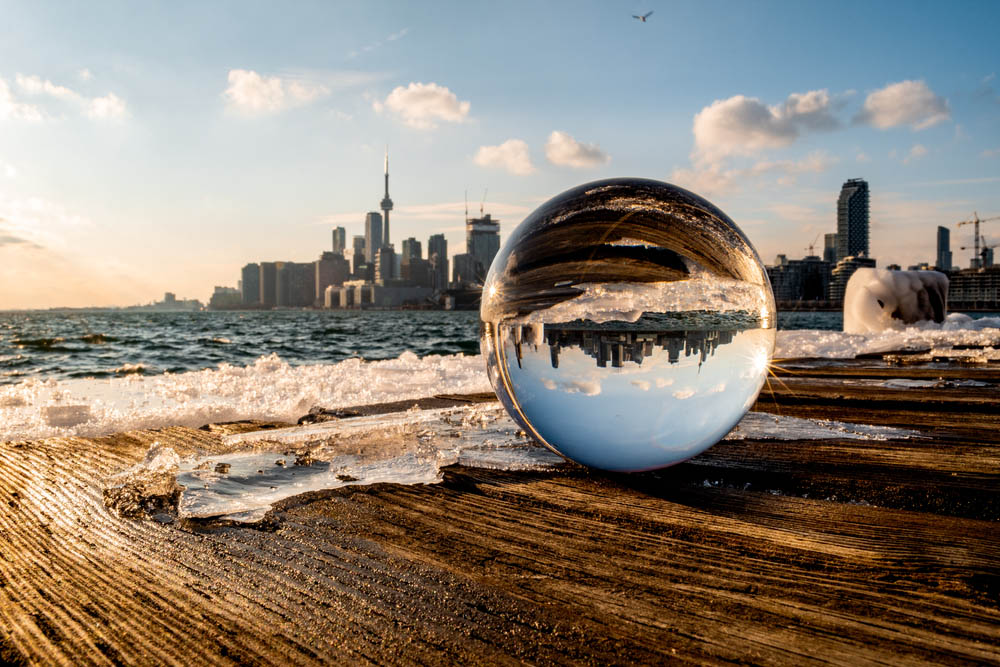
Photo by Julio Macias via Shutterstock
What is Lensball Photography?
Lensball photography involves using a glass lensball to create mesmerizing reflections of your surroundings. This technique adds a surreal twist to your photos, turning ordinary scenes into captivating visual narratives. The lensball acts as a wide-angle lens, compressing a 180-degree view into a small, crystal-clear sphere.
How to Get Started
To start with lensball photography, you’ll need a high-quality glass lensball, available in various sizes. Smaller lensballs are easier to handle, while larger ones provide more detail. Position the lensball in front of your camera and experiment with different angles and compositions. You can place it on a flat surface or hold it in your hand.
Tips for Stunning Shots
Focus on the Ball: Ensure your camera focuses on the image within the lensball, leaving the background blurred for a striking bokeh effect. You can see how to do this in the video above by Ralph Mayhew Photography.
Play with Perspectives: Try shooting from different heights and angles to capture unique reflections.
Incorporate Backgrounds: Use interesting backgrounds to enhance the overall composition. Landscapes, urban settings, and colorful scenes work particularly well.
Why It Works
Lensball photography forces you to think differently about composition and perspective. It challenges you to see the world in a new way, sparking creativity and helping you break out of your rut.
Creative Photography: Infrared Photography
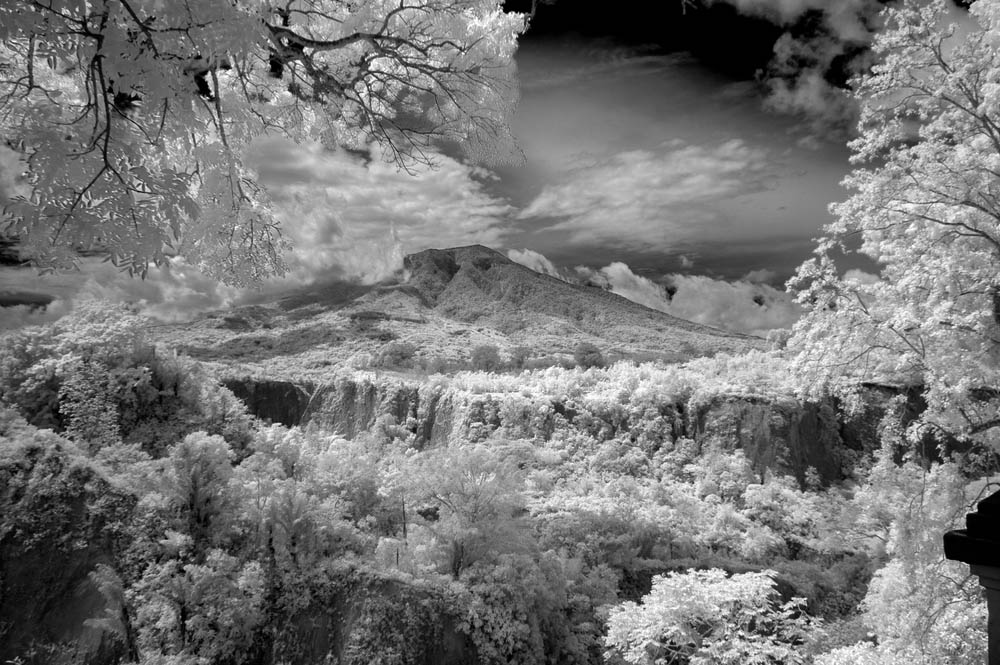
Photo by Iwan Hainim via Shutterstock
What is Infrared Photography?
Infrared photography captures light that is invisible to the naked eye, revealing a hidden world of surreal colors and contrasts. By using infrared filters or specially modified cameras, you can create ethereal images that look like they belong in a dream.
How to Get Started
To begin with infrared photography, you’ll need an infrared filter that fits your camera lens or an infrared-converted camera. Infrared filters block visible light while allowing infrared light to pass through, creating stunning effects. Set your camera to a long exposure and experiment with different settings to find the perfect balance.
Tips for Stunning Shots
Shoot in Bright Light: As Thomas Heaton discusses in the video above, Infrared photography works best in bright sunlight, which provides the strongest infrared light.
Explore Nature: Foliage reflects infrared light beautifully, turning green leaves into a glowing white or pink.
Post-Processing: Infrared images often require post-processing to enhance colors and contrasts. Experiment with different editing techniques to achieve your desired effect.
Why It Works
Infrared photography allows you to see the world differently, capturing landscapes and scenes in a way that is impossible with regular photography. This fresh perspective can reignite your creativity and inspire new artistic directions.
Creative Photography: Light Painting
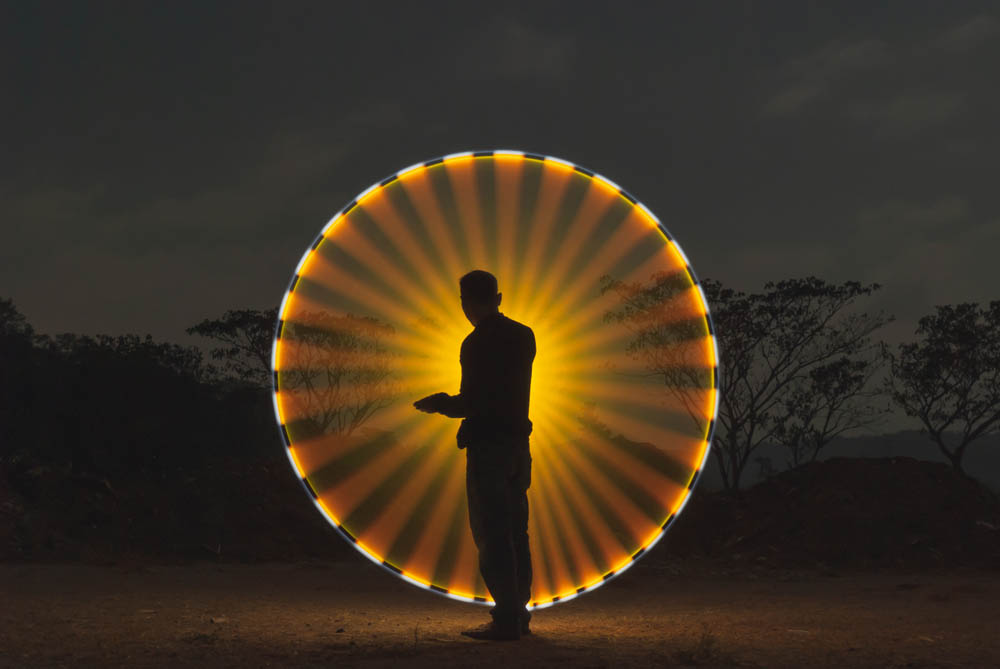
Photo by Dolan Mbengi via Shutterstock
What is Light Painting?
Light painting is a technique that involves creating long exposure photographs by moving light sources in front of the camera. This allows you to “paint” with light, resulting in vibrant and abstract images that can range from simple shapes to complex designs.
How to Get Started
To start light painting, you’ll need a camera with manual settings, a tripod, and a light source such as a flashlight, LED, or glow stick. Set your camera to a long exposure (typically 10-30 seconds) and move the light source in front of the lens during the exposure.
Tips for Stunning Shots
Experiment with Light Sources: As the video above by B&H Photo Video discusses, different light sources produce different effects. Try using various colors and intensities to see what works best.
Plan Your Design: Before you start, have a rough idea of the shapes or patterns you want to create. Practice your movements to ensure smooth and consistent light trails.
Use a Tripod: A stable camera is essential for sharp long exposure shots. A tripod ensures that the background remains steady while you move the light source.
Why It Works
Light painting is an incredibly creative and fun technique that allows you to experiment with color and motion. It pushes you to think outside the box and try new things, making it a perfect way to break out of a photography rut.
Creative photography techniques like these can help you break out of a photography rut. By exploring new methods and techniques, you can reignite your creativity and discover fresh inspiration. Embrace these techniques, experiment with them, and enjoy the process of capturing the world in new and exciting ways!
A quick heads-up: If you snag something through our affiliate links or check out our sponsored content, we might earn a commission at no extra cost to you. But fear not, we’re all about recommending stuff we’re truly stoked about!
Learn More:
- These Beginner Tips Will Get You Better Photos With Your Action Camera
- 5 Unique Exercises to Help Improve Your Photography Skills
Hero photo by oatawa via Shutterstock.