Photo by Monkey Business Images via Shutterstock
Selecting the ideal location for a portrait photography session can significantly impact the final results. The location sets the tone, complements the subject, and enhances the overall aesthetic of the photographs (if you choose the right location, anyway).
As an experienced photographer, I’ve learned that finding the perfect spot involves a blend of creativity, practicality, and foresight. This guide relies on that experience to help you navigate the essential factors in choosing the perfect portrait photography location. So, without further ado, let’s get to it!
Table of Contents
- Understanding the Purpose and Style of the Shoot
- The Prints of Your Photos Should Align With the Purpose and Style of the Shoot, Too
- Considering Lighting Conditions
- Assessing Background and Environment
- Accessibility and Convenience
- Pre-Shoot Location Scouting
Understanding the Purpose and Style of the Shoot
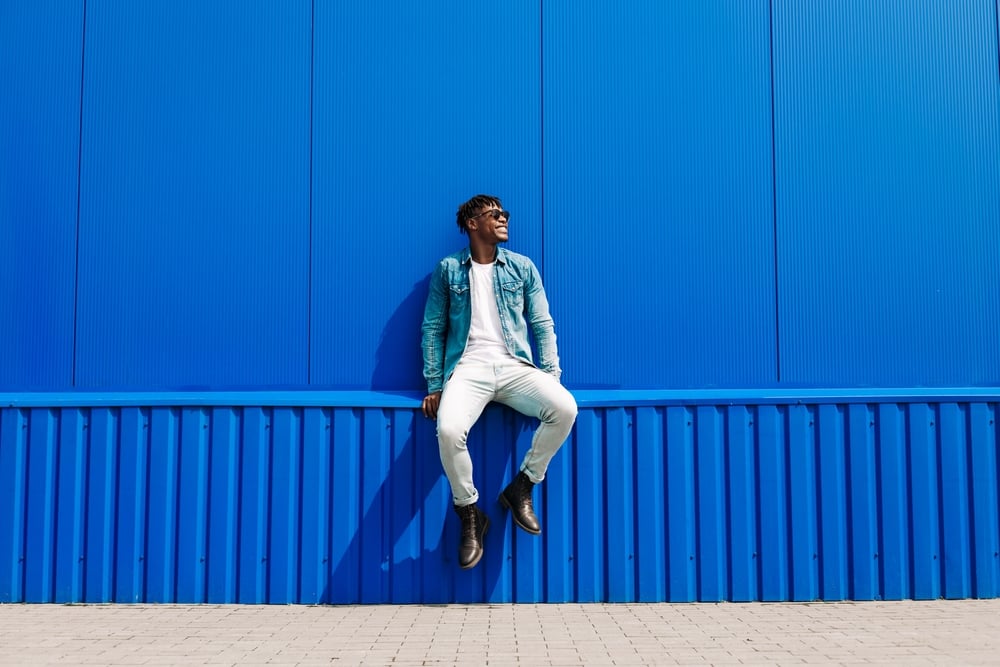
Photo by Shopping King Louie via Shutterstock
Choosing a portrait photography location begins with understanding the purpose and style of the shoot. The location should align with the theme and the subject’s personality to create a cohesive and visually appealing portrait.
The first step is to determine the shoot’s purpose. Are you capturing professional headshots, family portraits, or developing an artistic series? Each type of portrait has different requirements. For example, professional headshots might benefit from a clean, minimalist backdrop in a photo studio, while family portraits could be enhanced by a warm, natural setting outdoors.
Next, consider the desired style and mood. Are you aiming for a modern, urban look or a serene, nature-inspired feel? The location should reflect the intended vibe. Urban settings with architectural elements can convey sophistication and energy, whereas natural environments like parks and beaches evoke calmness and beauty.
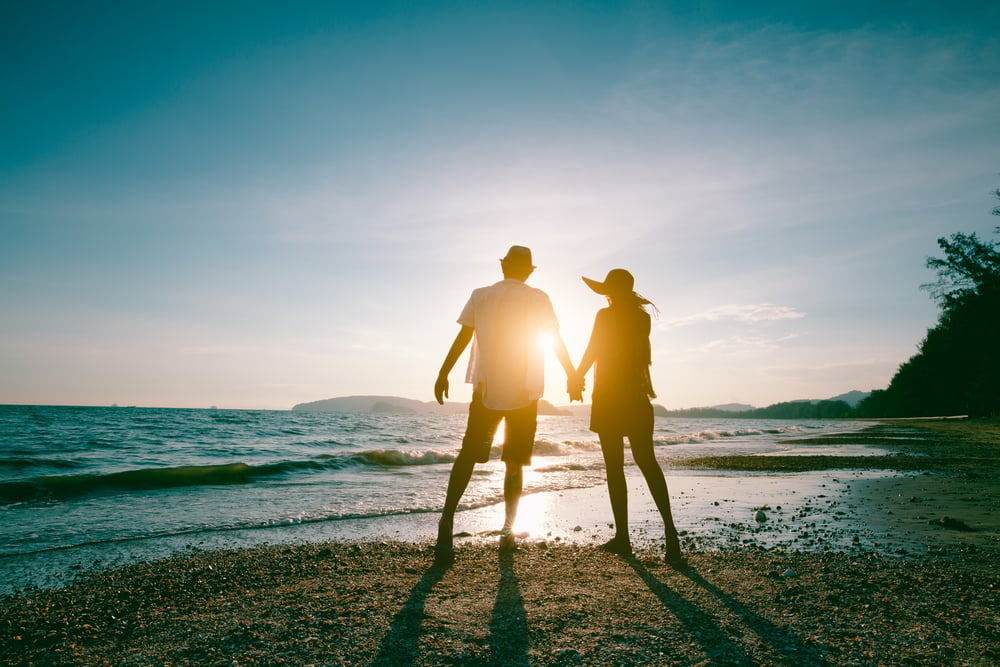
Photo by Patrick Foto via Shutterstock
Incorporating locations that hold personal significance to the subject can add depth and authenticity to the portraits, too. Whether it’s a favorite park, a meaningful landmark, or even their home, these settings can bring out genuine emotions and stories that make your photographs all the better.
Lastly, ensure that the chosen location complements the subject’s wardrobe and the overall color scheme. Visual consistency helps create a harmonious and aesthetically pleasing portrait. For instance, a bright, colorful outfit may stand out beautifully against a neutral, urban backdrop. Avoid matching the subject’s outfits to the environment or, worse, to other people in the shot. Matchy-matching clothes are not a vibe you should go for!
The Prints of Your Photos Should Align With the Purpose and Style of the Shoot, Too
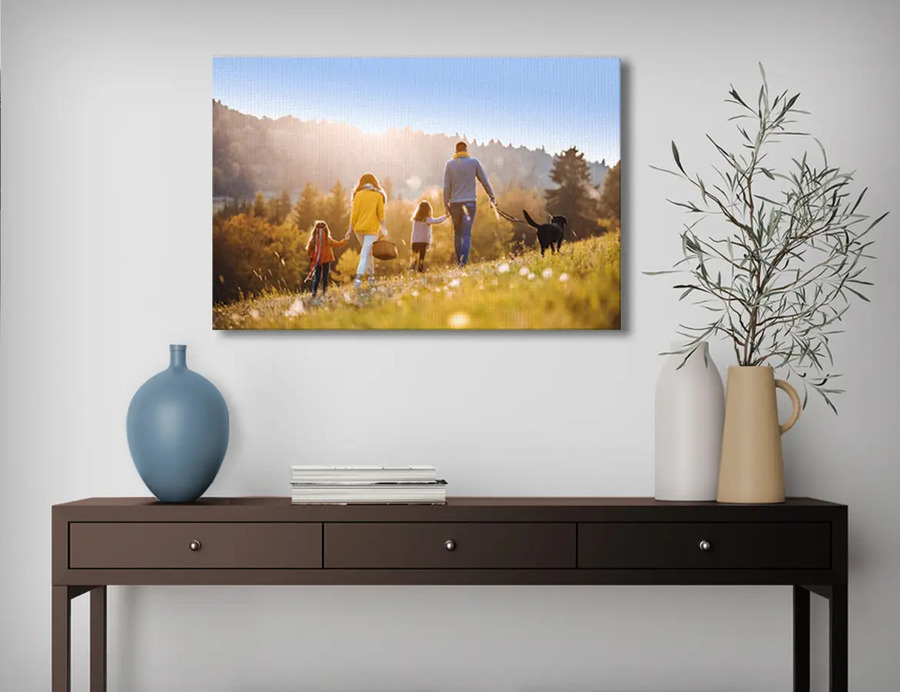
Image Credit: Artbeat Studios
The type of substrate you use to print your images has a lot to do with the final presentation of the shot. As such, it should align with the purpose and style of the photo.
For example, a metal print is modern and sleek, lending itself to edgier portraits, like street portraits or other portraits in urban settings. Now, metal prints aren’t only for modern, edgy portraits, of course, but they might be a more appropriate option than, say, canvas prints.
Speaking of canvas prints, more traditional portraits – like family portraiture – might be more conducive to printing on canvas. I personally love getting portraits printed on canvas because I like the texture and depth it adds to the shot.

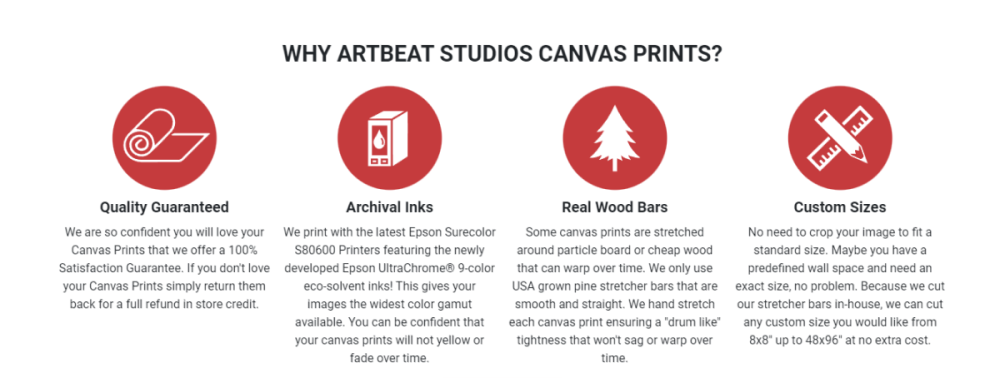
But, not all canvas prints are made alike. You really have to be careful where you order canvases and other types of prints from, as the quality varies greatly from one company to the next. That’s why I’ve used Artbeat Studios for years and years – the quality of their products is consistently above average (and they have different types to choose from, as shown above). In fact, Artbeat Studios is responsible for many of the best prints I’ve ever ordered!
The quality of these prints isn’t the only upside to working with Artbeat Studios for your printing needs. They’re a dedicated team of professionals who will help you through every step of the process. Not sure what format your images should be in? They can help! Want to know more about sizing or the printing process? Just ask! Believe me – I’ve had plenty of questions for the Artbeat Studios team over the years, and in every instance, they’ve taken the time to walk me through the answers to my questions, so I’m a more informed consumer.
Anyway, back to printing portraits…
Like I said earlier, I really like the depth that canvas gives portraits, but it isn’t the best choice for all situations. Fortunately, companies like Artbeat Studios offer a range of products, so you can invest in the ones that best meet your needs. Aside from the canvas and metal options I’ve already mentioned, Artbeat Studios also offers paper prints, acrylic prints, and EZ stick metal prints. In other words, you have lots of choices when creating portrait prints!
Considering Lighting Conditions
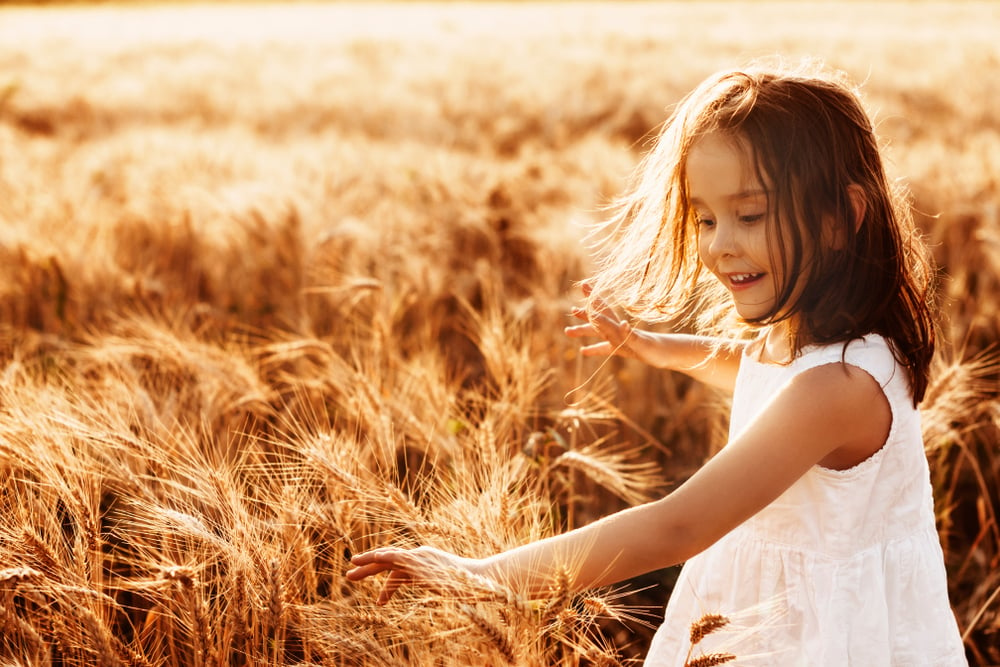
Photo by dekazigzag via Shutterstock
Lighting is one of the most critical elements in portrait photography – its quality and direction can dramatically affect the mood and clarity of your portraits. When selecting a portrait photography location, it’s essential to consider the available lighting conditions, which can vary greatly:
- Natural light is often preferred for its soft, flattering qualities. When scouting locations, observe how the light interacts with the environment at different times of the day. The golden hour, shortly after sunrise and before sunset, offers warm, diffused light that is ideal for portraits. Avoid harsh midday sunlight that can cast unflattering shadows.
- In some situations, artificial lighting might be necessary. Urban settings with streetlights, neon signs, or indoor locations with controlled lighting can provide creative opportunities. Make sure the location has the appropriate power sources and space to set up your lighting equipment.
- Consider the direction from which the light is coming. Front lighting illuminates the subject evenly, while side lighting adds depth and dimension. Backlighting can create a beautiful halo effect but may require additional fill light to illuminate the subject’s face.
- Reflective surfaces, such as water, windows, and light-colored walls, can enhance natural light by bouncing it onto your subject. When scouting locations, look for elements that can act as natural reflectors to improve lighting conditions.
Assessing Background and Environment
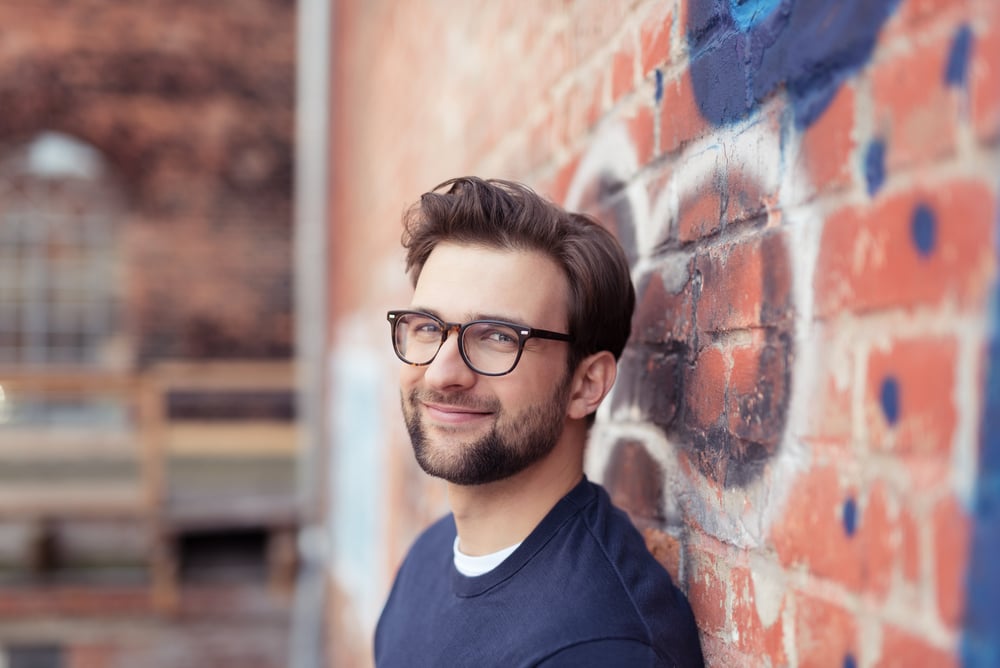
Photo by ESB Professional via Shutterstock
The background and environment play a significant role in the overall composition of a portrait. A well-chosen background can enhance the subject and add context to the photograph. As such, pay attention to the elements in the background. A cluttered or distracting background can detract from the subject. Look for locations with clean, simple backgrounds or ones that naturally frame the subject, such as arches, doorways, or trees. Get more portrait photography location tips in the video below by Omar Gonzalez Photography:
Additionally, choose backgrounds that complement the subject’s attire and the intended color palette of the portrait. Harmonious colors can create a more cohesive and visually appealing image. For instance, a subject in earth tones will look great against a backdrop of greenery or autumn foliage. Incorporating depth into your portraits can make them more dynamic and engaging as well. Look for locations that offer layers or natural lines that lead the viewer’s eye toward the subject. This could be a path, a row of trees, or an alleyway.
The environment should also support the narrative of the portrait. As noted earlier, for a professional headshot, a modern office building might be appropriate, while a casual lifestyle shoot might be better suited to a park or a cozy café. The environment should add to the story without overpowering the subject, too.
Accessibility and Convenience
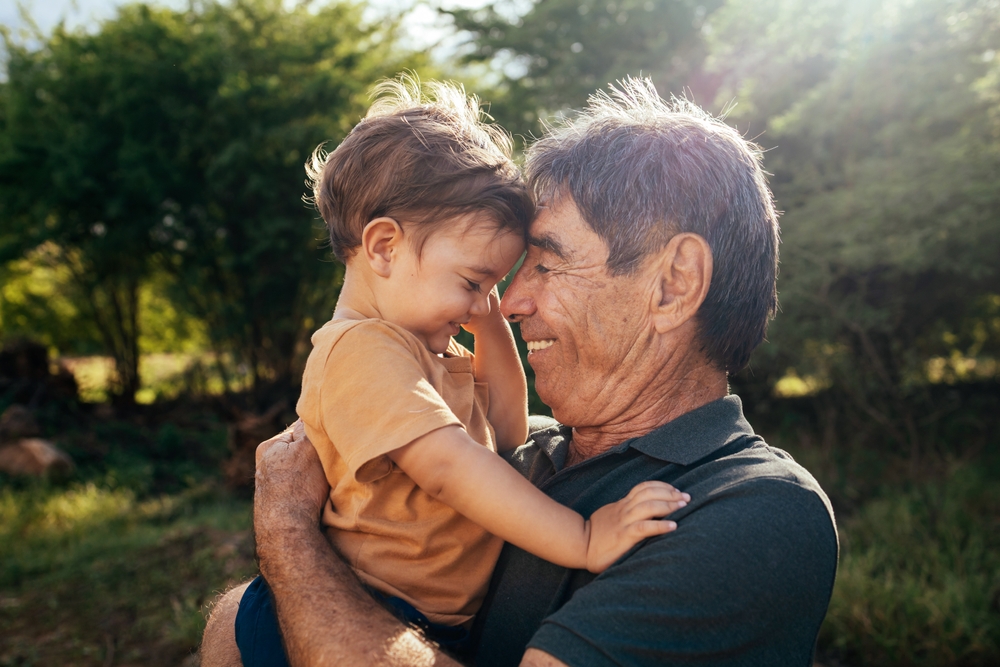
Photo by Kleber Cordeiro via Shutterstock
Practical considerations are crucial when choosing a portrait photography location. Ensuring the location is accessible and convenient for both you and your subject can prevent unnecessary stress and logistical issues. So, consider the travel distance to the location. It should be easily reachable for both you and your subject. Check for available parking or public transportation options, especially if the location is in a busy urban area.
Be aware that some locations require permits or fees for photography. Research these requirements ahead of time to avoid any legal issues. Public parks, historic sites, and private properties often have specific regulations for professional photography. Assess the availability of essential facilities as well, such as restrooms and changing areas. These are particularly important for longer shoots or sessions with multiple outfit changes. Nearby amenities, like cafes, can also provide convenience for breaks.
Of course, it’s paramount to have a plan for various weather conditions. Outdoor locations can be impacted by rain, wind, or extreme temperatures. Identify indoor or sheltered alternatives that can serve as backup locations if the weather doesn’t cooperate.
Pre-Shoot Location Scouting
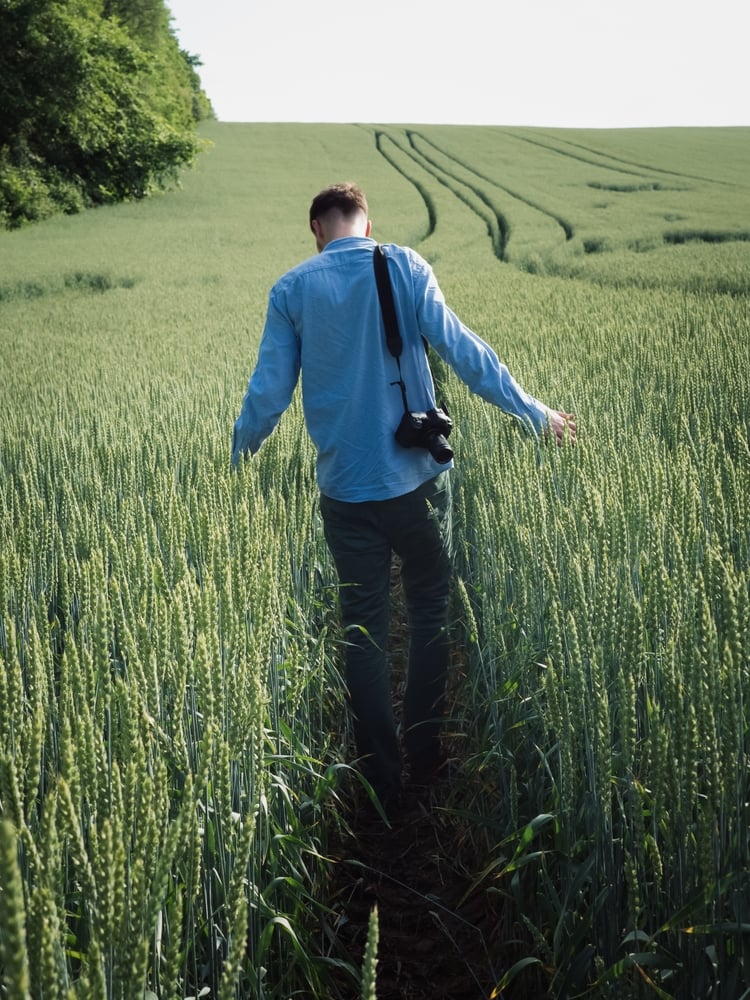
Photo by Inna Igorivna via Shutterstock
Thorough pre-shoot scouting is key to ensuring a successful portrait photography session. Visiting potential locations in advance allows you to assess the environment and plan your shots more effectively. Schedule site visits at the same time of day as your planned shoot to evaluate the lighting and atmosphere accurately. Take test shots to see how the location looks through your lens and identify potential issues.
Utilize tools like Google Maps, photography apps, and social media to research locations as well. Platforms like Instagram and Pinterest can provide inspiration and insights into how other photographers have utilized the space. Also, check for Restrictions. During your scouting visit, look for any restrictions or obstacles that might affect your shoot. Look for signs indicating private property, restricted areas, or specific rules about photography.
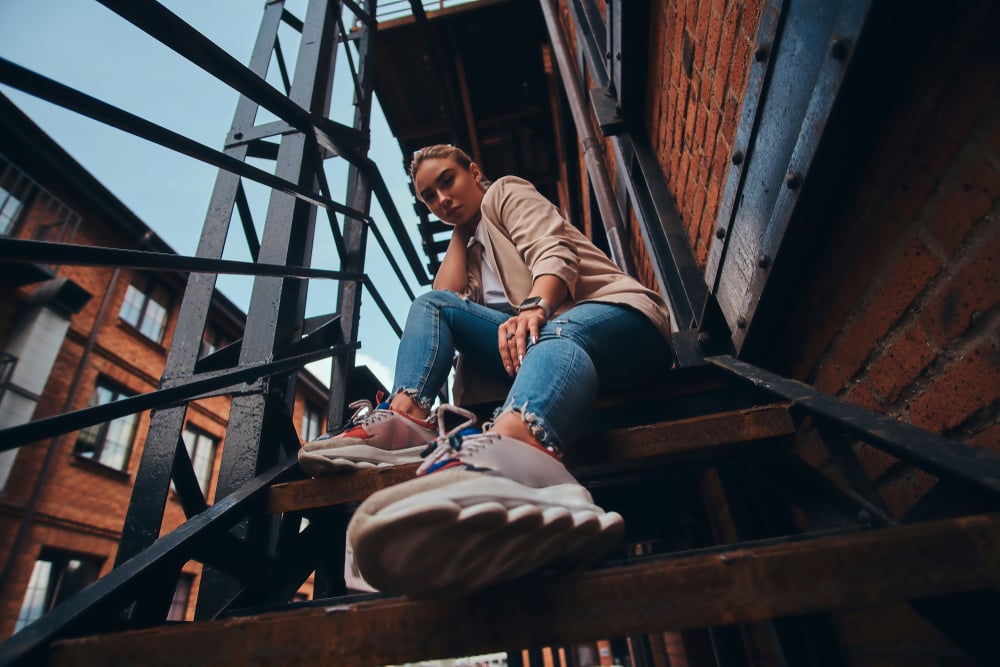
Photo by FXQuadro via Shutterstock
Determine the best angles and compositions for your portraits during your pre-shoot visit, too. Consider the position of the sun, the direction of light, and the background elements. Having a plan will save time and help you capture the best possible shots.
With that, you have a few tips for choosing the perfect portrait photography location. It involves a blend of artistic vision and practical considerations to get the best results. But, by understanding the purpose and style of the shoot, considering lighting conditions, assessing the background and environment, ensuring accessibility and convenience, and conducting thorough pre-shoot scouting, you can find the ideal location to enhance your portraits.
Happy shooting!
Heads up: Clicking on our affiliate links and exploring our sponsored content helps us at no extra cost to you, and we only recommend gear we’re absolutely crazy about!

