Photo by SeventyFour via Shutterstock
Taking photos of food with a phone is no longer something reserved for Instagram influencers and bloggers.
Even professional food photographers harness the power and flexibility of using their iPhones to take images for paying clients.
But, as we all know, the quality of an image has much more to do with your skills than it does with the camera you use.
That being the case, let’s discuss a few crucial iPhone food photography tips that will help you build the skills you need to capture the highest-quality images.
Table of Contents
- What Gear Do I Need for iPhone Food Photography?
- Use All the Lenses on Your iPhone
- Leave Negative Space in Your iPhone Food Photography
- Shoot at Different Angles
- Incorporate People or Processes
What Gear Do I Need for iPhone Food Photography?
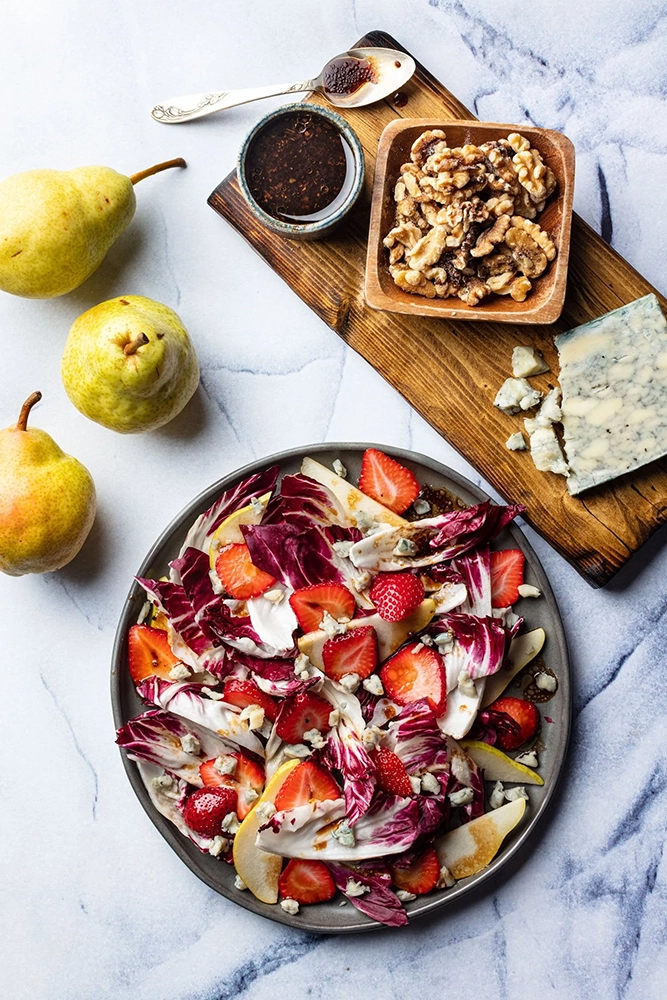
Image Credit: Best Ever Backdrops
There are all sorts of different items that are useful for capturing the best photos of food:
- An iPhone
- Good lighting
- Food photography backdrops
- A tripod
- Props
And since newer iPhones have two or three lenses built-in, the advice would be to use the different lenses according to your creative needs. More on that in a bit.
For now, I want to focus on one particular type of food photography gear – backdrops.
Food Photography Backdrops
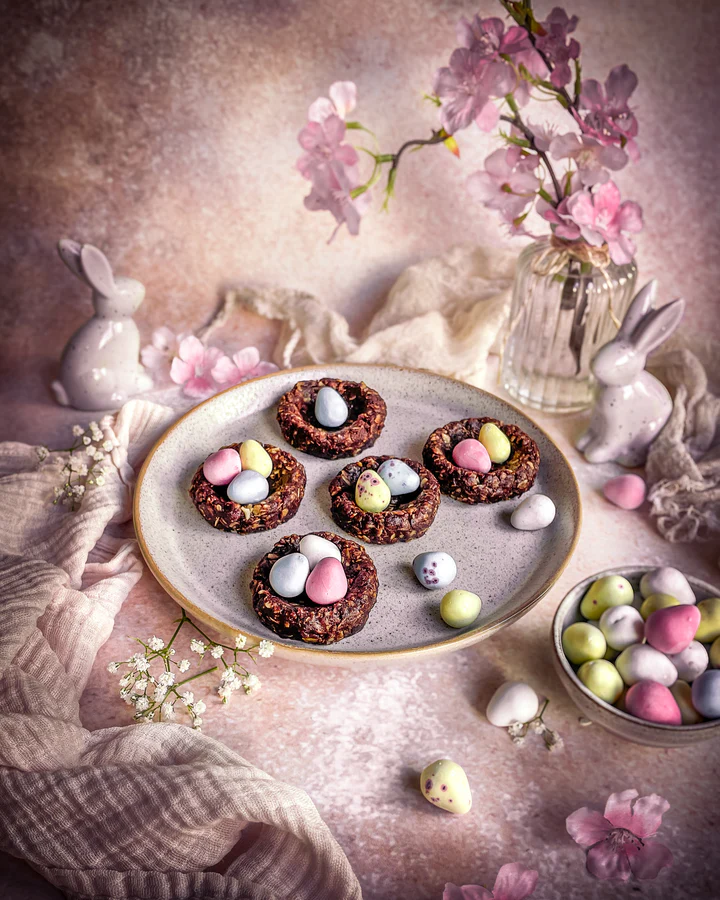
Image Credit: Best Ever Backdrops
When you focus on iPhone food photography, one of the advantages is that you can work quickly and be highly mobile. You don’t want your food photography gear to get in the way of that.
That’s why the new 24×24 backdrops from Best Ever Backdrops are the perfect addition to your iPhone food photography kit.
These backdrops are 100 percent waterproof and completely stain-resistant, so you can take photos of any kind of food without worrying that it will damage your backdrops.
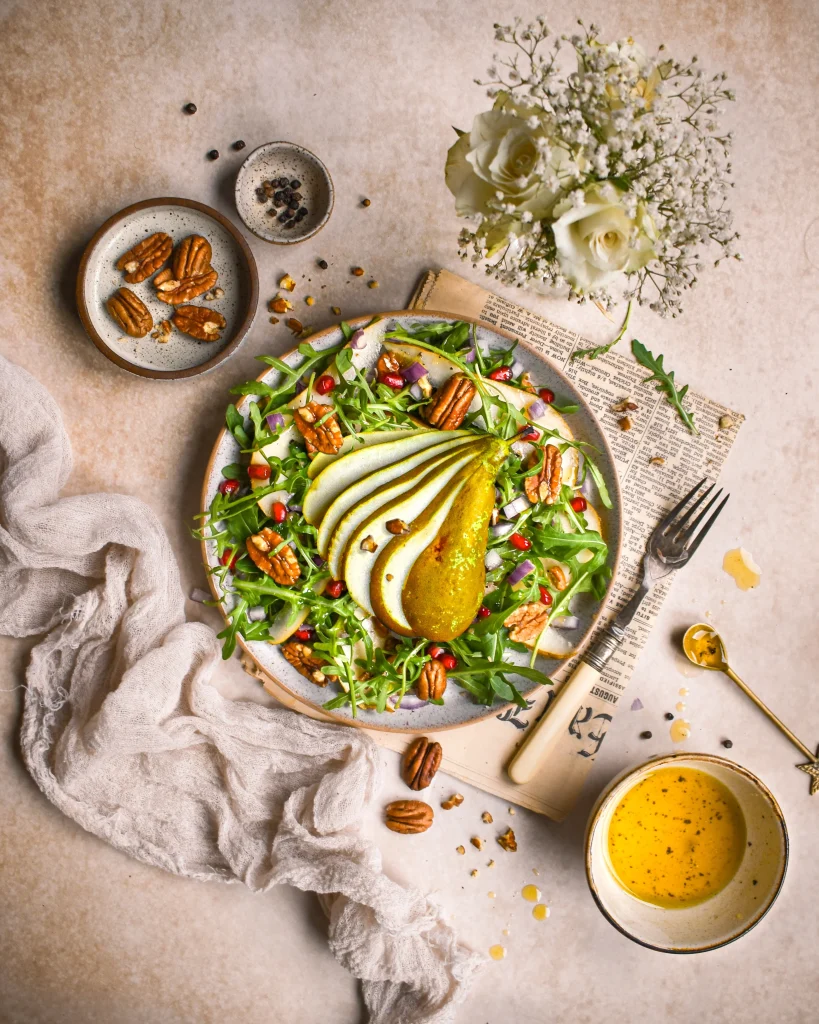
Image Credit: Best Ever Backdrops
What’s more, these backdrops are two-sided – one texture on the front and a different texture on the back. So not only do you reap the benefits of its small size, but you also get double the backdrop!
This is an ideal feature because you can get more variety in your shots without having to invest in so many backdrops.
Heck, you can get two sets (four different textures) and have plenty of options for food photography backgrounds while maintaining a streamlined kit.
And since each backdrop weighs less than one pound, you don’t have to worry about being weighed down by a lot of gear. Like I said, these backdrops are perfect for iPhone food photography!
Editor’s Note: Right now, you can get 15% off your order from the Backdrop Collection or the Mix and Match Collection at Best Ever Backdrops by using the promo code PTalk15. Head over to Best Ever Backdrops today to get outfitted with the best backdrop for food photography!
Use All the Lenses on Your iPhone
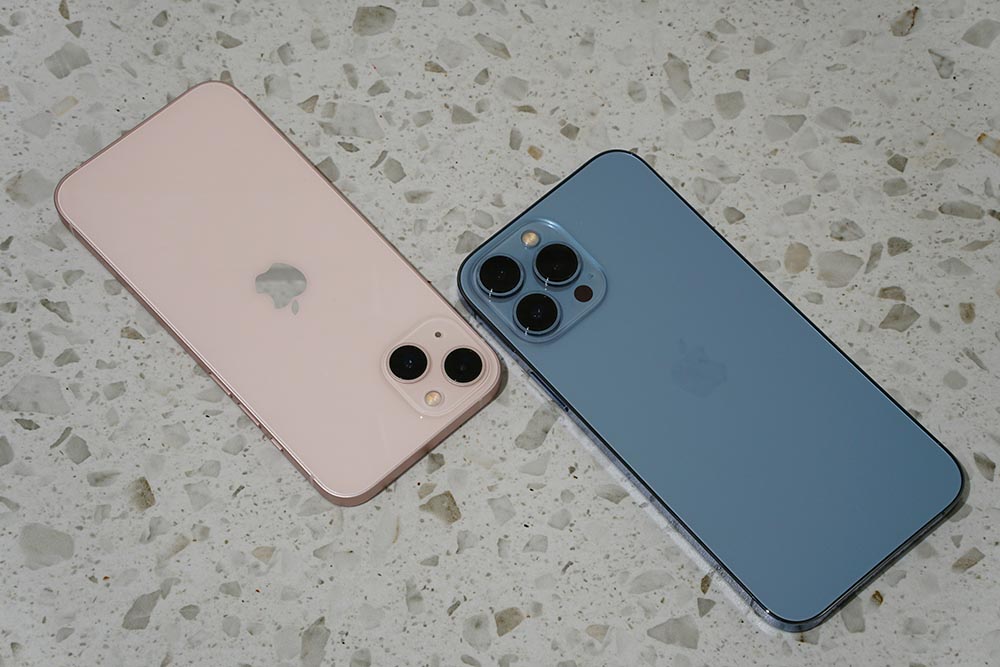
Photo by Vanja Matijevic on Unsplash (license)
In most situations, you’ll probably find that the wide lens is the best option for iPhone food photography.
However, just because it is likely to be the best option most of the time doesn’t mean that you shouldn’t try the other lenses on your phone.
If you have an iPhone model with two lenses, you also have the use of an ultra-wide lens. If you have a model with three lenses, you get a telephoto lens as well.
Each lens has its uses…
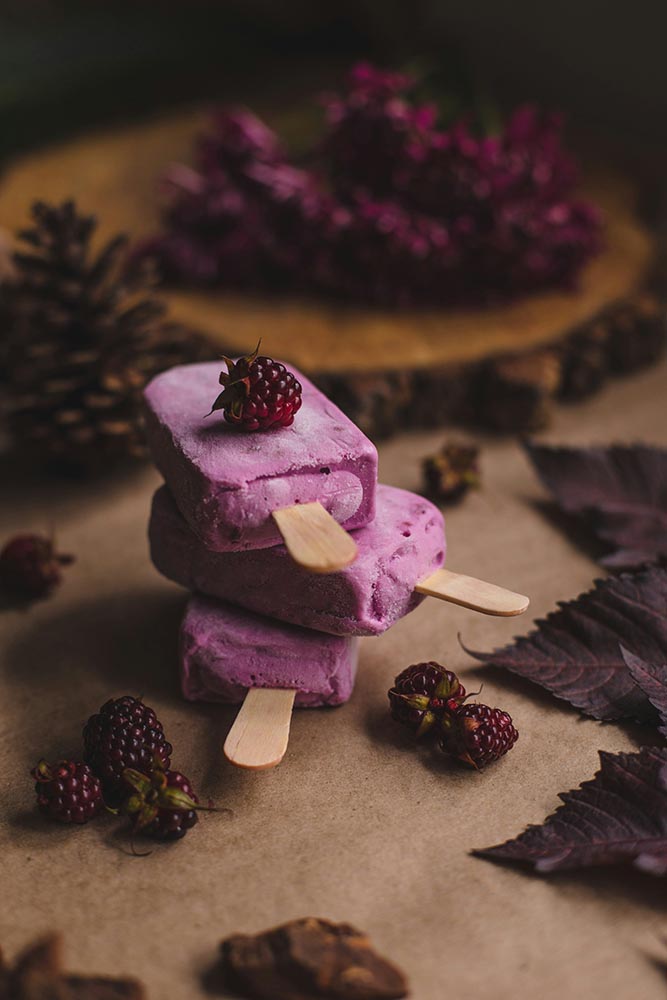
Photo by Pablo Merchán Montes on Unsplash (license)
The ultra-wide lens might be a good choice for images of large spreads. The wide lens might be your best bet for “typical” food images like the one above that highlights a single dish. The telephoto lens might be the best choice for detailed shots.
This is just a rough guide, of course. Experimentation is key! You might find that the ultra-wide lens is too distorted for capturing the best images. You might also not like the noise introduced with the telephoto lens.
Fortunately, experimenting with your iPhone is easy to do – no switching out lenses, just a couple of taps on the screen!
Leave Negative Space in Your iPhone Food Photography
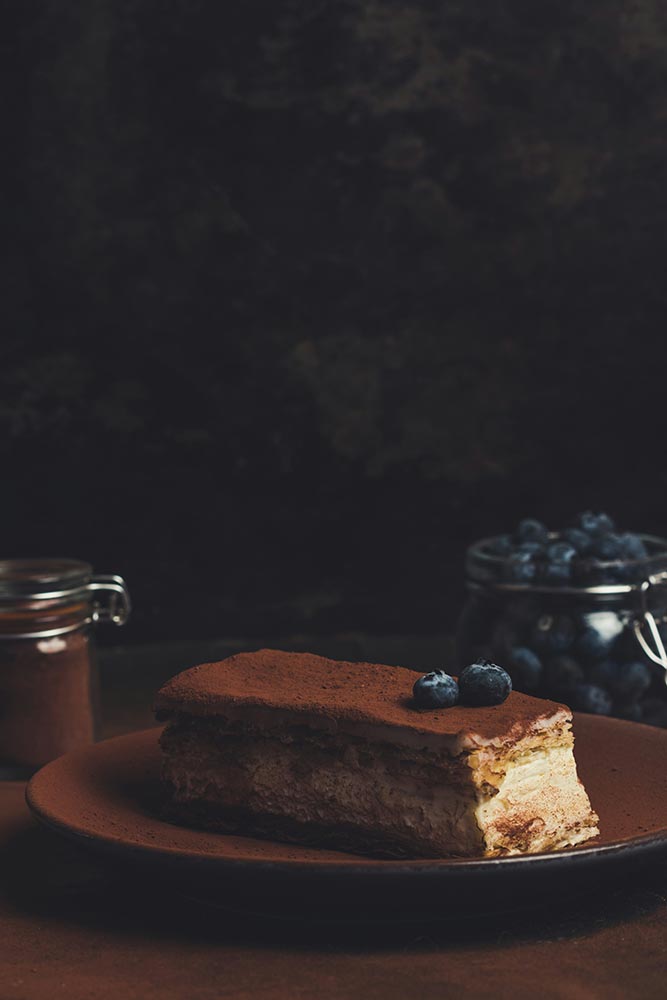
Photo by Jordane Mathieu on Unsplash (license)
There are a couple of important functions of negative space in photography.
First, it prevents an image from looking too cluttered. In the image above, for example, you can see that there’s negative space occupying the top of the shot.
Since there’s already a lot going on in this image, those areas don’t need more stuff – the photo would be overwhelmed with detail. Less is definitely more in food photography!
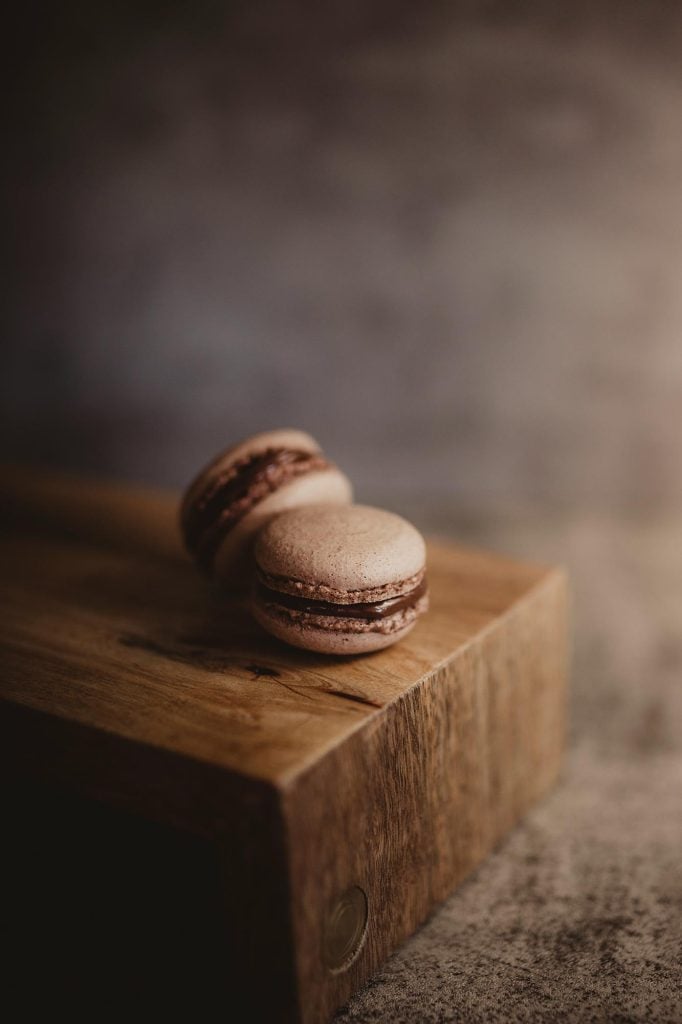
Photo by Kura Tregenza on Unsplash (license)
The second function of negative space is that it allows the end-user to add text or a logo if they want.
For example, a photo like the one above offers space at the top of the image for adding text for advertising purposes.
When implementing negative space, it doesn’t need to be completely blank. As you can see above, the backdrop offers some color variation and texture that gives the negative space some visual appeal, but not so much that it would take away from text that’s added to the image.
Shoot at Different Angles
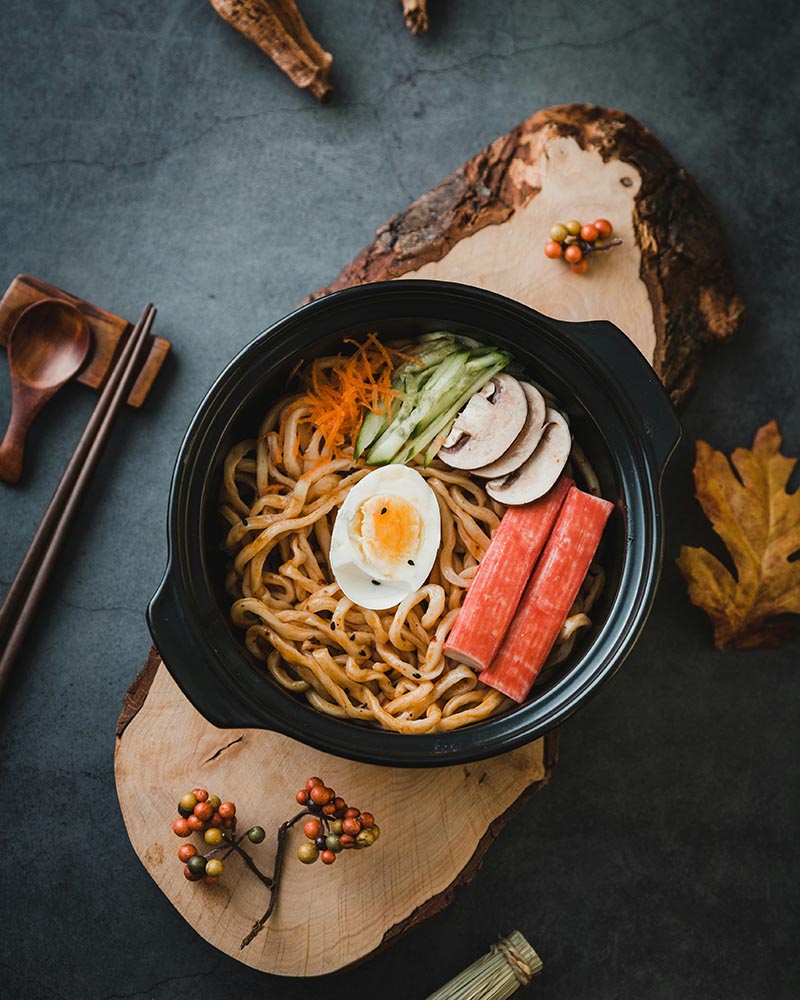
Photo by Mae Mu on Unsplash (license)
As I mentioned earlier, the primary advantage of iPhone food photography is that you can easily move around and be mobile when taking photos of food. This enables you to quickly and easily take photos from different angles.
Again, experimentation is key. In some situations, shooting from directly above the food (as shown above) will get you the best results. Sometimes, though, shooting from a 45-degree angle, as shown above, makes the most sense. In other situations, you might shoot from a very low angle, perhaps to highlight props in the foreground of the shot.
It’s good to have variety, too. Whether you’re taking iPhone food photography for yourself or for a client, you don’t want every single image to be from the same vantage point. Give people some variety, and that allows you to tell a more complete story about the food you’re photographing.
Incorporate People or Processes
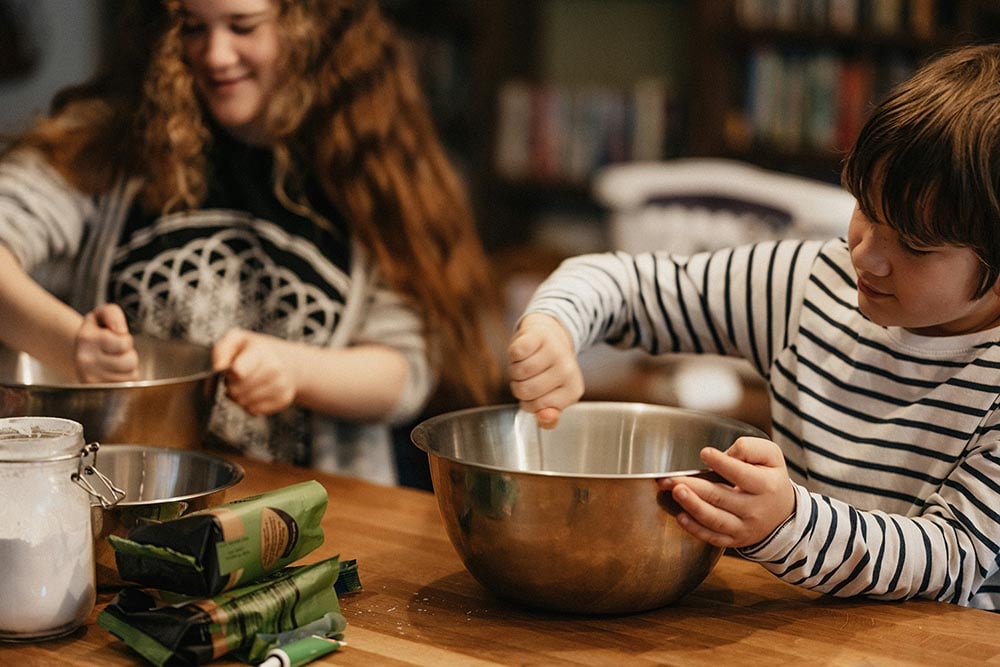
Photo by Annie Spratt on Unsplash (license)
A final tip for your iPhone food photography is to incorporate people or cooking processes into your shots, as appropriate.
Now, sometimes you just need a photo of the finished product, and that’s okay. But other times, it might be valuable to include images of people preparing food or enjoying food.
Including images of these processes helps viewers imagine themselves cooking or eating the food you’ve photographed. And that’s exactly what we want to happen with food photography – get people excited about the food in your photos.
With that, you have a few critical tips for improving your iPhone food photography for 2022. Now all you need to do is practice!
Friendly disclaimer: Our articles may contain affiliate links that support us without costing you more, and sometimes we spice things up with sponsored content—but only for products we truly stand behind!

