
5 Tips for Improving Your Interior Real Estate Photography
- Interior Real Estate Photography Gear
- HDR for Interior Real Estate Photography
- Use a Tripod for Interior Real Estate Photography
- The 3 Wall Method of Interior Real Estate Photography
- Preview Every Room Before Photographing
- Farm Out Processing or DIY?
- Recommended Photography Gear
- All the Reasons Why You Need a Tripod for Photography
- Unique Photography Gadgets that Serve a Useful Purpose
- Tripod Tips for Beginner Photographers

Photo by alvarez via iStock
How is your interior real estate photography game? If you want to improve your real estate photography, even if you’re already working as a professional in this lucrative but competitive field, read on for some helpful tips.
Perhaps your primary business isn’t photography, but instead, you’re a real estate agent. Whether you cater to large properties, smaller homes, or commercial properties, you can use these guidelines to help you better use your investment in real estate photography gear.
Table of Contents:
Interior Real Estate Photography Gear
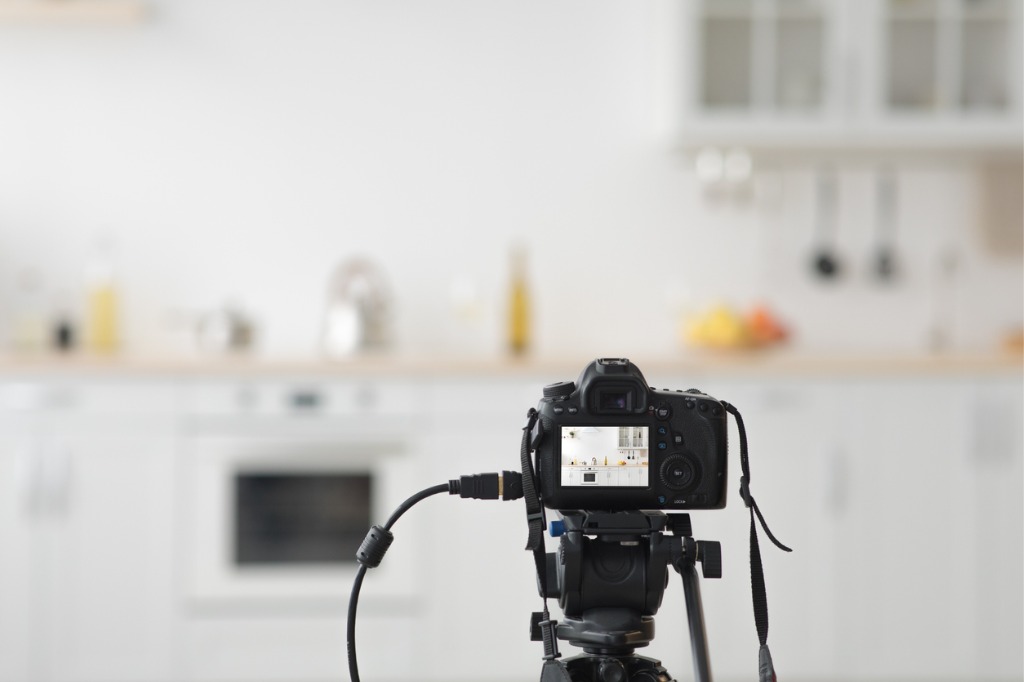
Photo by Prostock-Studio via iStock
What equipment is necessary for interior real estate photography? If you’re already working in this field, you likely have some of the same gear we will recommend. But it’s always fun to see someone else’s ideas, isn’t it?
Those new to interior real estate photography should know this fundamental fact: A camera is much more preferred than even the best smartphone.
While our modern iPhones and Galaxy Androids have amazing cameras built-in with several lenses and full-featured photographic and video programs installed, a larger format sensor camera with interchangeable lenses will be a better choice in the long run.
An interchangeable lens camera, mirrorless design or DSLR, and a wide-angle lens start our interior real estate photography gear list. The camera can be any of the three popular formats of digital photography, MFT, APS-C, or Full Frame. Generally speaking, the larger the format, the better, but all three formats are professionally capable.
The lens should be a wide-angle lens - wider than the kit lenses or all-around zoom lenses we may have purchased with the camera. For Full Frame format, lenses in the 14mm to 17mm range are great. This would become 10mm or 11mm in APS-C format and 7mm or 8mm in MFT format. A zoom lens is a good idea though some photographers will prefer a single focal length prime lens. A moderate aperture will be good.
Super speedy lens apertures aren’t vital since the next item on our list is a tripod. A heavy-duty tripod that gets tall enough for your eye level is preferable. Adding a spirit level and a remote release improves our workflow and end result.
Adding lighting equipment is not a major concern since the way we shoot and process a lot of interior real estate photography handles exposures differently. But you may want to add a versatile flash unit or LED light panel in your gear bag.
HDR for Interior Real Estate Photography
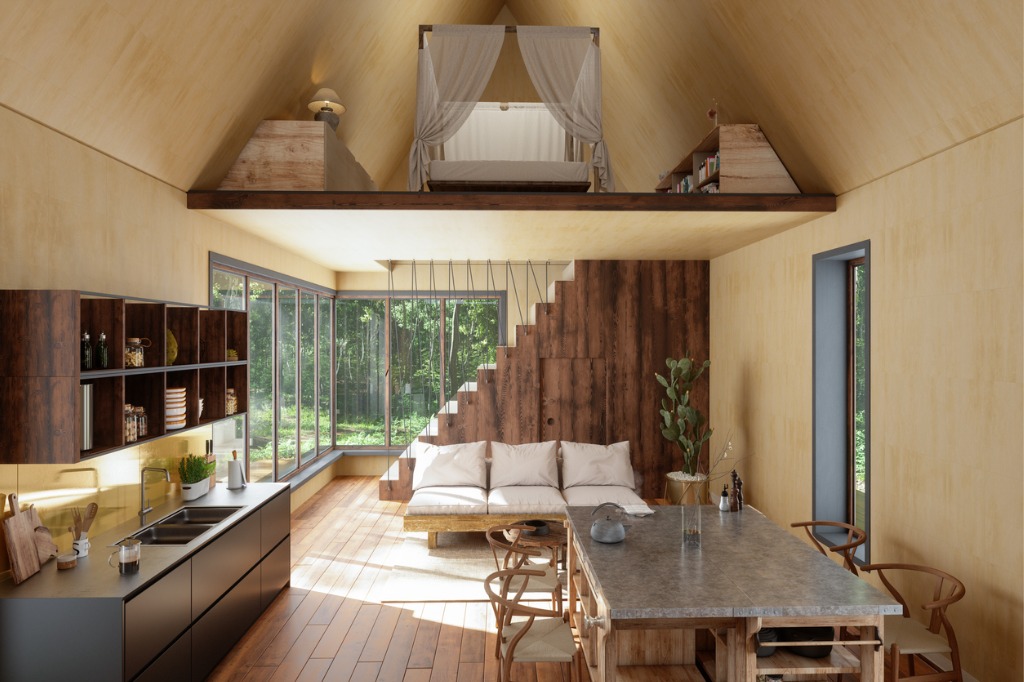
Photo by onurdongel via iStock
Bracket and merge photography, also known as HDR for High Dynamic Range photography, is a great method for handling the extreme exposure issues of interior real estate photography. It’s how you can shoot a room with bright areas, mid-range tones, and shadows, all having excellent detail.
A series of exposures are taken, beginning with exposure settings that would be deemed “correct” for the middle tones of a scene. Then, frames are taken at exposure settings up and down from that normal shot. You can use 3, 5, or 7 exposures total, with each shot varying from 1 or 2 stops of the others.
These frames are blended together in a post-processing program so that a balanced exposure of everything in the room looks normal in the final image, from the darkest shadow to the brightest highlights. This mimics how our eyes take in everything in a room as we view it live, but it is difficult to capture in a single photographic exposure.
Use a Tripod for Interior Real Estate Photography

Tripods are a vital part of our interior real estate photography gear setup. We need a steady tripod to ensure our multiple exposures for the bracket and merge method all line up and register properly. Plus, using ultra-wide angle lenses requires us to be vigilant regarding keeping the camera level to avoid distortion of straight lines.
You can add extra stabilization to a medium to heavy-duty tripod by using StandDaddy brackets and weights to the legs of a tripod.
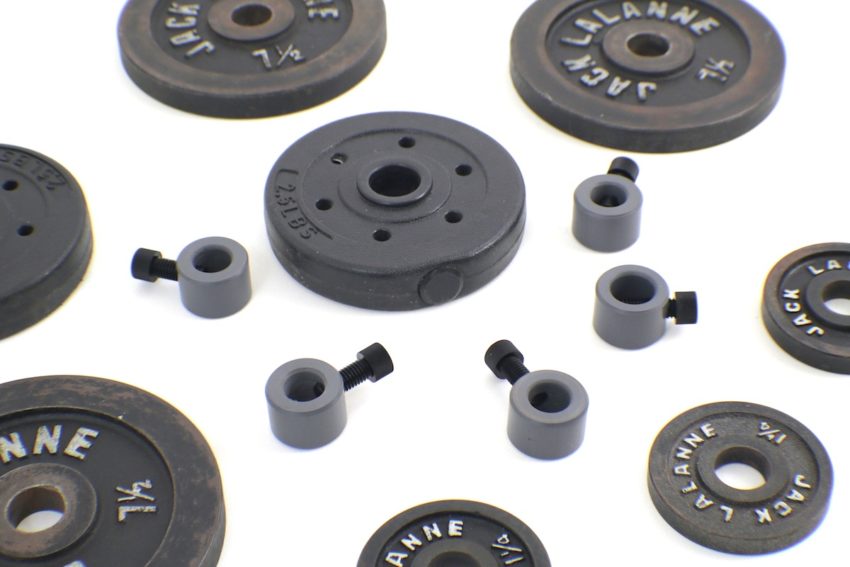
StandDaddy is a set of ring clamps that attach to the lower part of the tripod’s legs, allowing you to use portable and inexpensive barbell weights to steady the rig. The clamps slip right on and are hand tightened in whatever position you need. The large set screws do not mar any finish and are easy to loosen or tighten without tools.
It should be noted that barbell weights do not come with the StandDaddy clamps. Weights are easy to find, though. There are 2 ½ lb plastic barbell weights available at the big discount chain stores for around $2.00 each.
With a good tripod and the extra stabilization of the StandDaddy system, you can confidently and easily capture HDR images and use an ultra-wide-angle lens for your interior real estate photography.
The 3 Wall Method of Interior Real Estate Photography
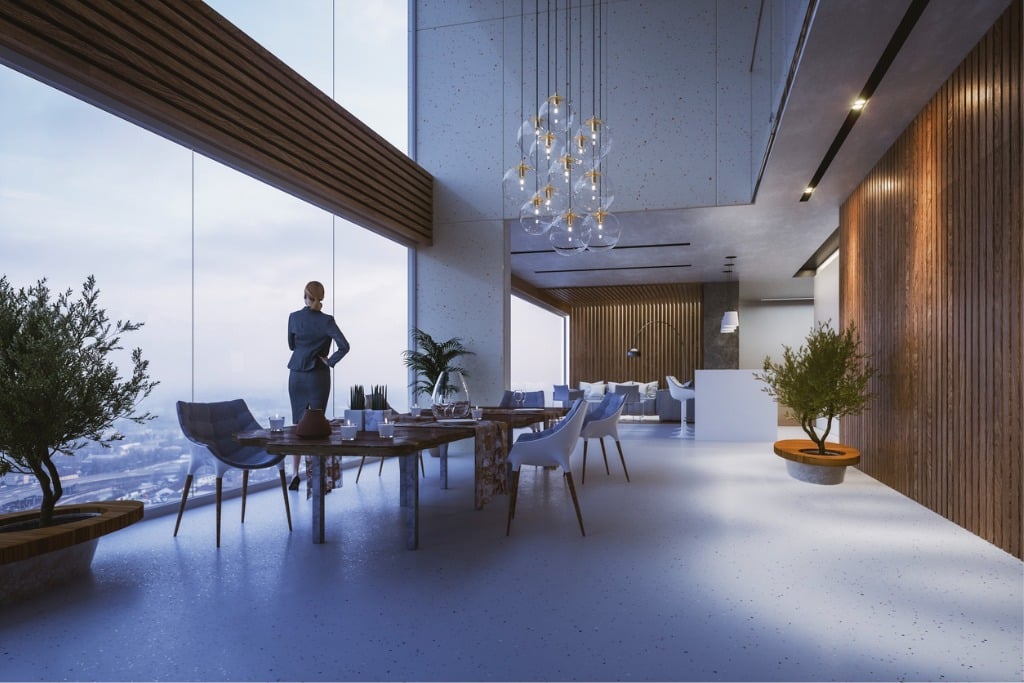
Photo by gremlin via iStock
When capturing interior real estate photography, real estate professionals and prospective buyers looking online have come to expect an attractive representation of the property. Positioning the camera to capture views of three walls at a time is a good technique for these images.
It doesn’t have to be equal portions of all three walls; it sometimes adds visual appeal if they are asymmetrical. Use that tripod and level to make sure the camera stays level so that all those straight lines don’t look odd to a viewer.
Preview Every Room Before Photographing
Photo by mikkelwilliam via iStock
You don’t want to have the mindset that you can fix things in post-processing. That’s a big time waster in any workflow and can be eliminated before capturing a single image by looking over each room or area before shooting it.
Window blinds and curtains should be open but straight. This looks nice, and it lets in sunlight which aids in setting exposures. Lights should be on but the ceiling fans off. In a bathroom, the toilet seat should always be down. There shouldn’t be clutter or trash in any area.
If a place is not prepped ahead of time by the owner or the agent and is ready for interior real estate photography, it may require rescheduling. Your job is being a photographer, not a maid service or a staging agency. Unless you want to charge for those things, that is.
Farm Out Processing or DIY?

Photo by svetikd via iStock
With all that goes into capturing the images for interior real estate photography, what happens after the camera is just as important to the final outcome. We’re talking about post-processing and image delivery.
For the needed post-processing, such as the HDR bracket and merge method, there are two options: farm it out to a service or do it yourself DIY.
You may be working for a service that requires you to upload directly to them, and they do the processing. Or, you can shop for an online provider that offers services for a fee or as part of a subscription. If you decide on these methods, consider any turnaround time issues and adjust delivery schedules accordingly.
You can use the DIY approach for your interior real estate photography post-processing. Most of the well-used programs, such as Photoshop Lightroom, have functions for HDR or other batch edits. There are also programs specifically made for HDR photography that could be used. This keeps you in complete control, but it does add to the overall workflow of your real estate photography.
Use these interior real estate photography guidelines to up your real estate photography game or to get into this lucrative field in the first place.


