
Take Better Photos at Night With These Simple Astrophotography Tips
Sometimes the most difficult part of taking beautiful photos of the night sky is simply knowing where to begin.
That's where this tutorial comes in...
With the quick and easy tips outlined below, you'll get the pointers you need to start taking better shots of the stars sooner rather than later.
Let's get started!
Editor's Tip: Before you can take the best photos, you need the right astrophotography gear. Get geared up.
Use a Wide-Angle Lens
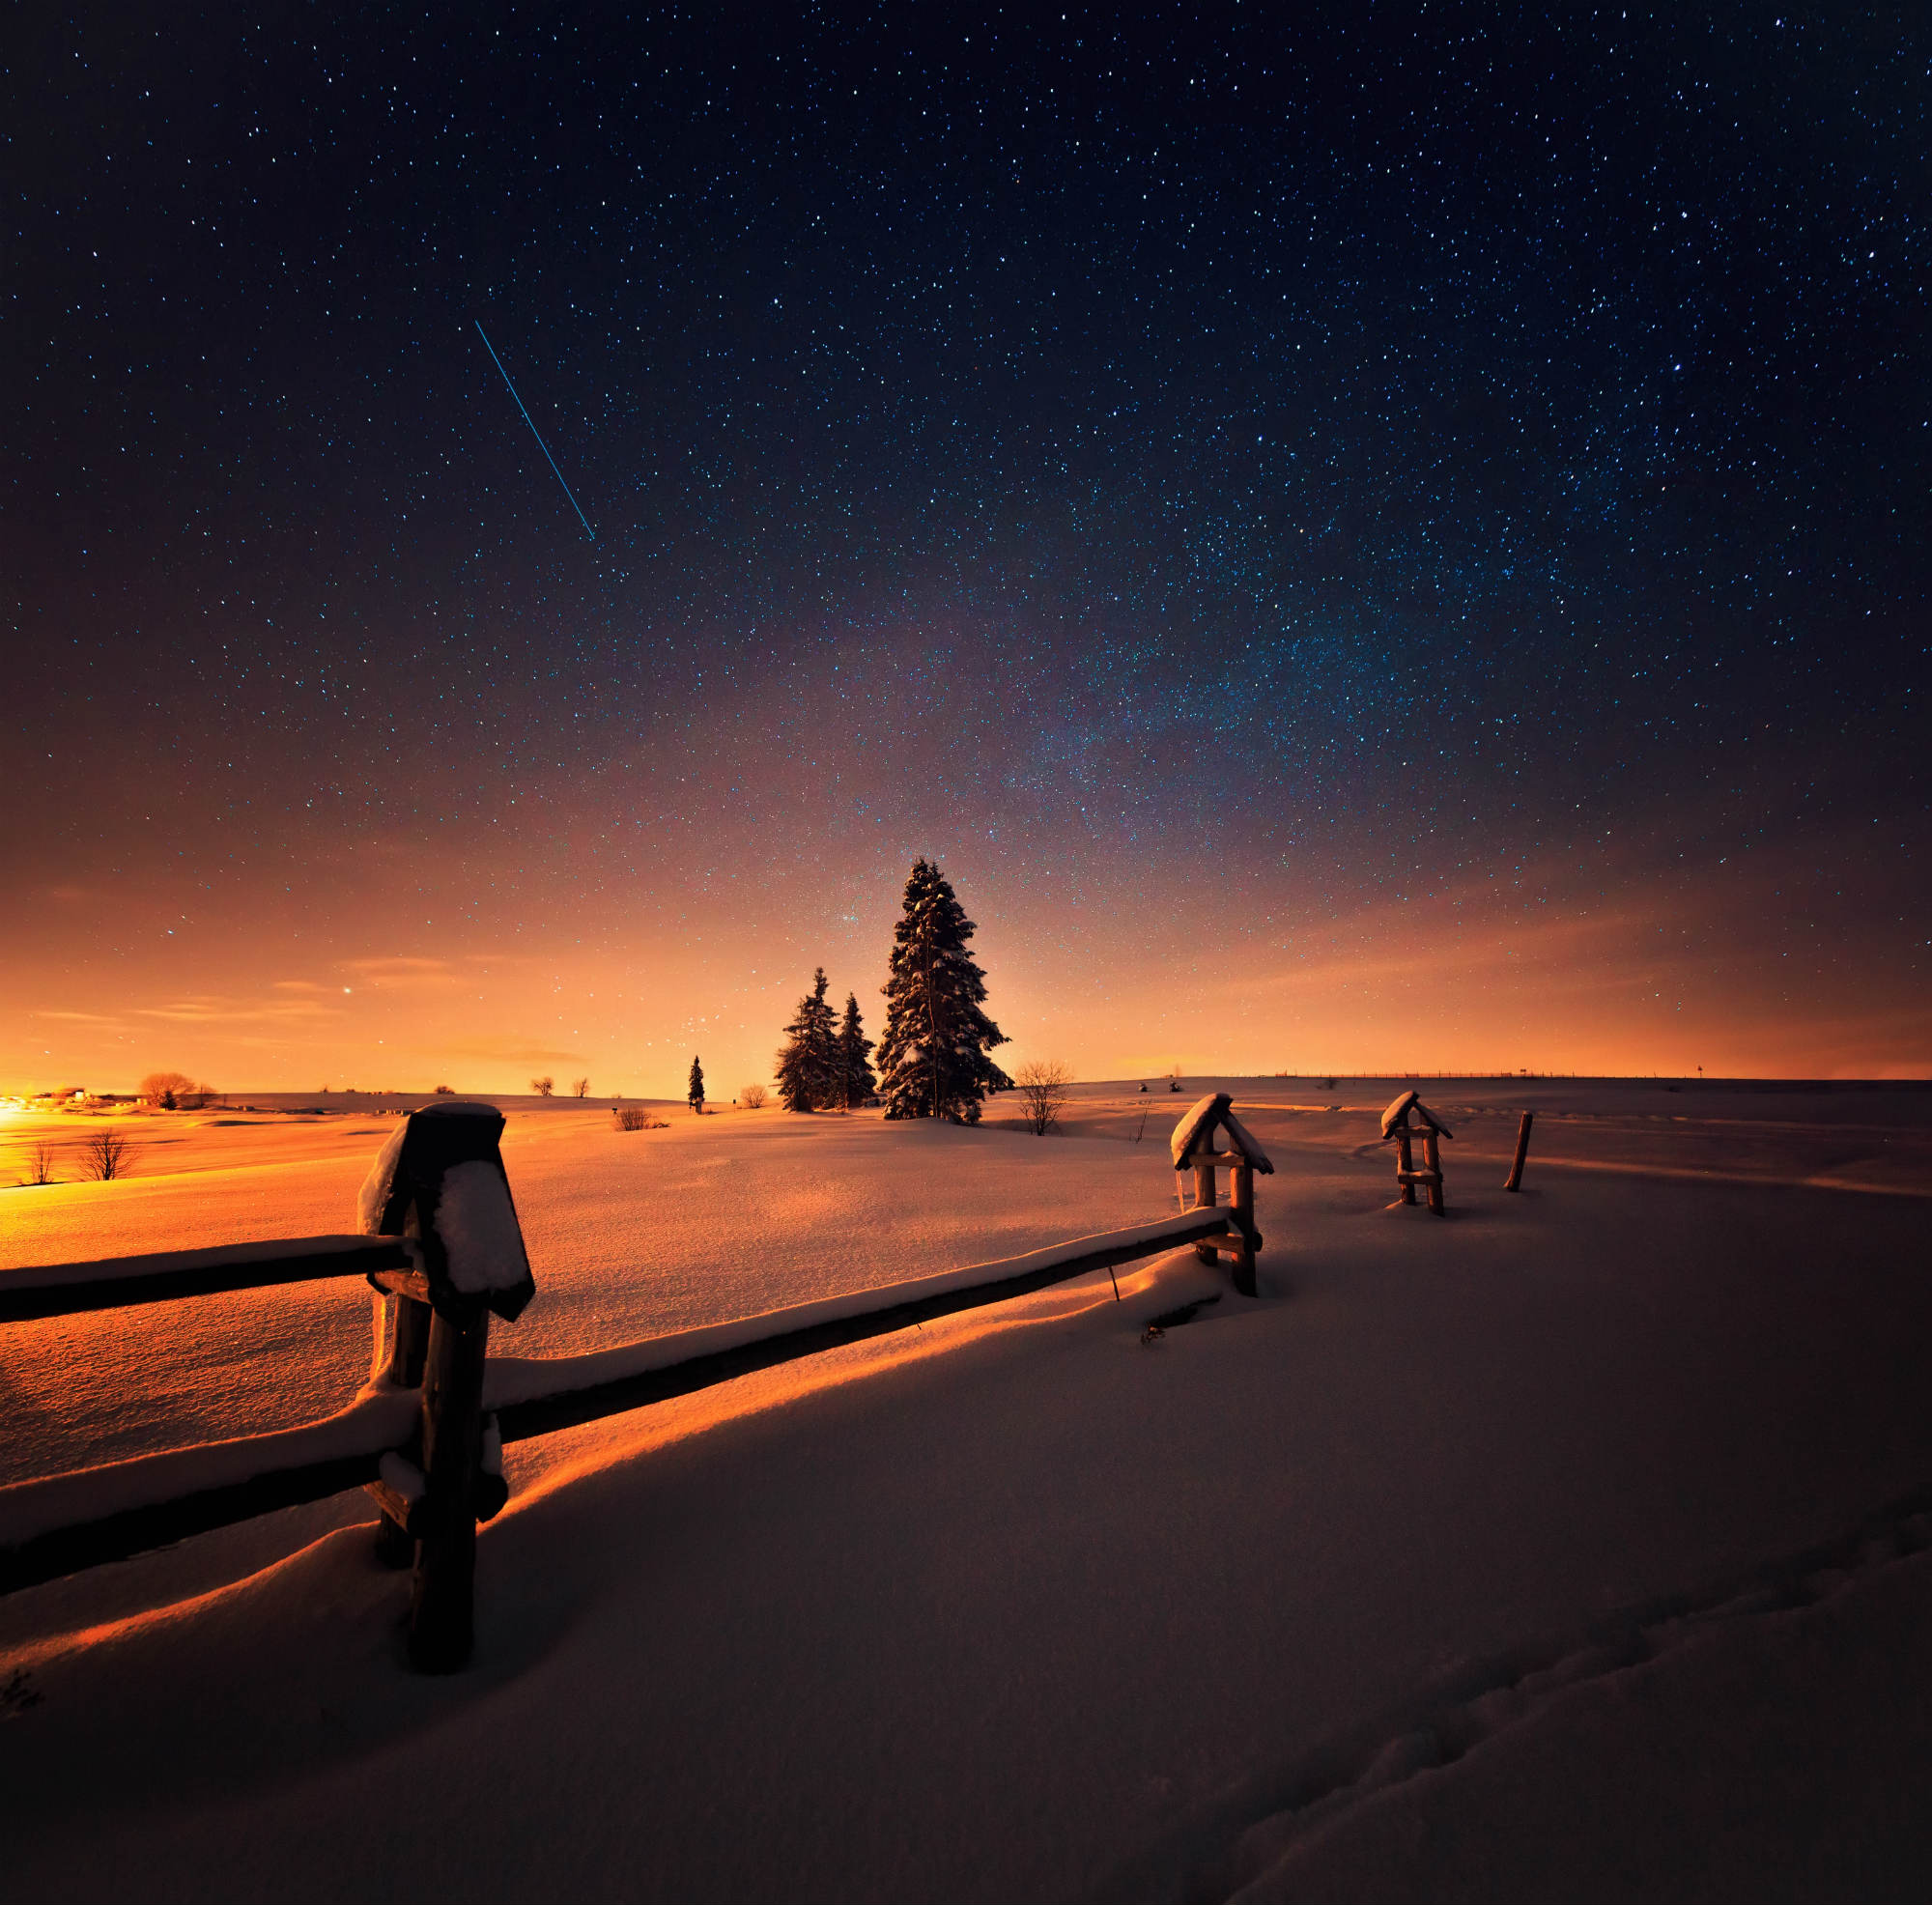
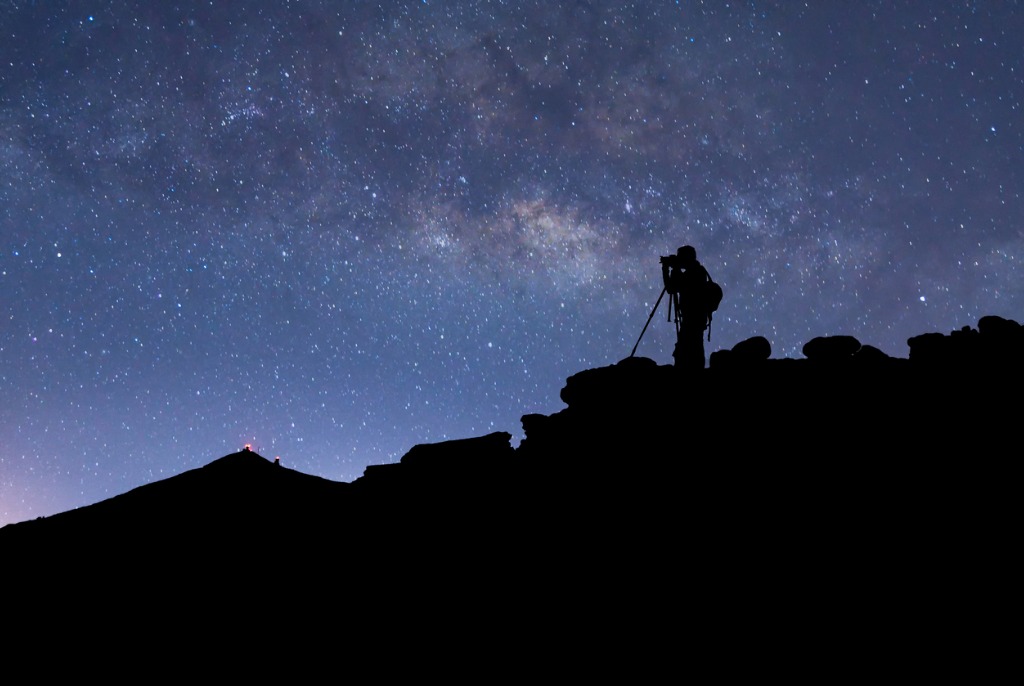
The wide angle of view afforded by a wide-angle lens means that you can incorporate more of the night sky into your photos, as well as the landscape beneath them.
Though you don't want to overwhelm the shot with too much detail, it's nice to be able to include elements that give the photo depth and context.
For example, in the photo above, the use of a wide-angle lens allowed the photographer to include much more foreground interest. That, in turn, gives the shot excellent dimension and depth.
Quick Tip: If you're in the market for a solid wide-angle lens, a 24mm f/1.4 is tough to beat.

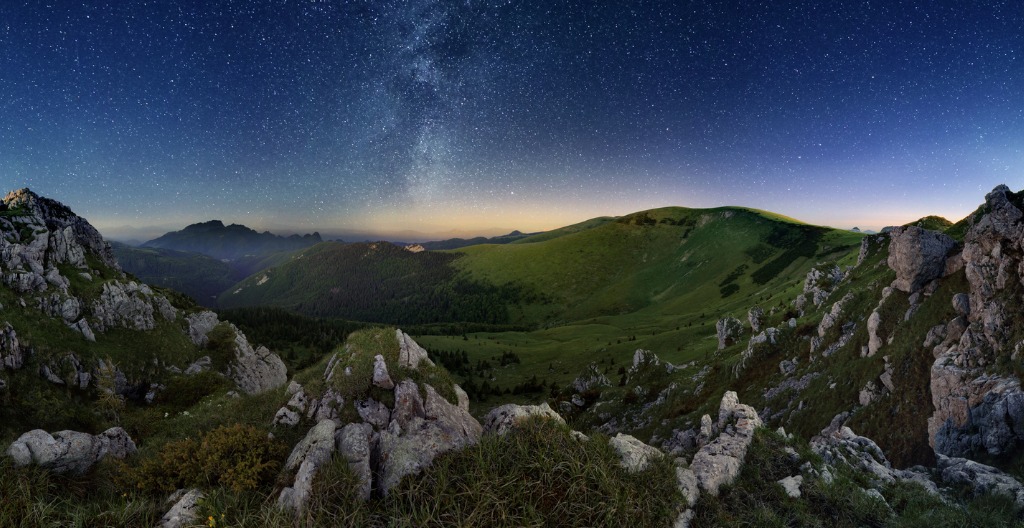
But as with any photography rule of thumb, you have to be willing to make exceptions.
Just because wide-angle lenses are great for this type of photography doesn't mean that you can't try other types of lenses.
As you can see above, a tightly-framed shot with a telephoto lens can produce gorgeous results as well.
Learn More:

Use the 500 Rule for Sharp Stars (or Get a Star Tracker Mount)
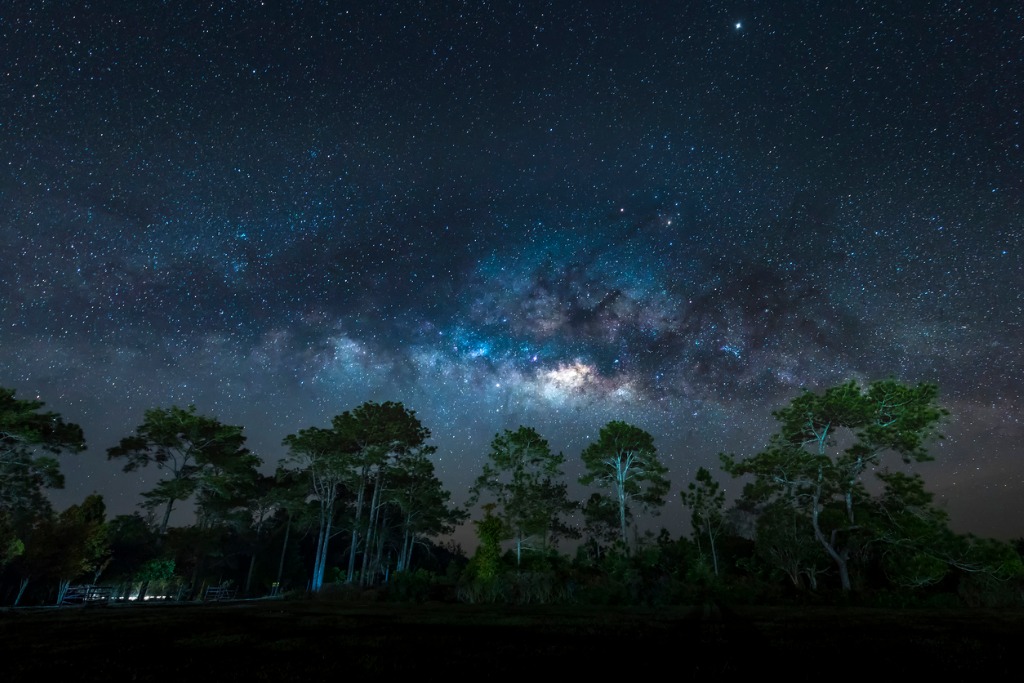
To get clear, pinpoint stars like those that you see in the image above, you have to figure out what shutter speed you can use without getting star trails.
The 500 rule stipulates that if you divide 500 by the focal length of your lens, that you'll get an exposure time that will get you pinpoint stars.
So, using our recommended 24mm lens, the equation would be: 500/24 = 20.83.
That means that with a 24mm lens, you can dial in a shutter speed of up to about 20 seconds and still get sharp photos.
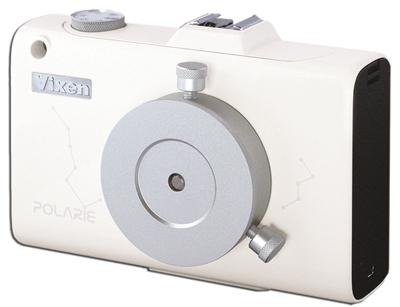
An even easier way to get pinpoint stars is to use a star tracker mount, like the Vixen Polarie shown above.
This rig is purpose-built to help you get high-quality photos of the night sky because it's incredibly easy to setup and use.
Just mount the Polarie to any standard tripod, and in turn, mount any camera weighing up to seven pounds to the Polarie.
Then use the included compass to orient the mount to face north or use a polar scope for alignment.
Once the Polarie is in position, it will track the movement of the stars across the sky for you. That means you get pinpoint stars without having to mess about with the 500 rule!
Editor's Tip: It's easy to get pinpoint stars. Find out how right here.
Use a Remote or the Camera's Self-Timer
Since you need long exposures to get photos at night, that means that your camera is susceptible to camera shake.
Camera shake occurs when the vibrations you cause by pressing the shutter button result in a blurry photo.
If you remove that element of touching the camera from the equation, you'll get sharper photos as a result.
Just about every camera has a built-in timer that allows you to select from a variety of short delays.
Even a two-second delay should be enough time to let any vibrations calm down before the shot.
But for better results, it's best not to touch the camera at all.
Do do that, you need a camera remote.
You can pick up inexpensive remotes for less than $10 on Amazon, so it's not a huge investment of money to get one.
Even if you opt for something a little more spendy, the results will be worth it!
Editor's Tip:
Final Thoughts
As I noted in the introduction, sometimes all you need to get going are a few simple tips.
The tips outlined above will get you started on the right foot and help you get improved photos of the night sky.
For additional tricks to improve your astrophotography, check out the video above by Mango Street.
In addition to the instructions I've provided above, they offer hints on how to focus your shots, get sharper images, and camera settings to use, among other things.