
Real Estate Photography Lighting Tips You Can't Miss
- Real Estate Photography Lighting Issues
- Several Ways to Handle Real Estate Photography Lighting
- Real Estate Photography Lighting Gear
- Post-Processing Solutions
- The Importance of a Steady Camera
- Other Recommended Photography Gear
- Four Simple Ways to Improve Your Photography Workflow
- Long Exposure Photography Gear List
- Critical Tips for Low Light Photography

Photo by sl-f via iStock
A question I get asked all the time is how to set up or work around real estate photography lighting...
There are several reasons why this type of question comes up a lot. I’ll discuss that topic and talk about some simple solutions concerning lighting for real estate photography.
Let’s get started!
Table of Contents:
Real Estate Photography Lighting Issues
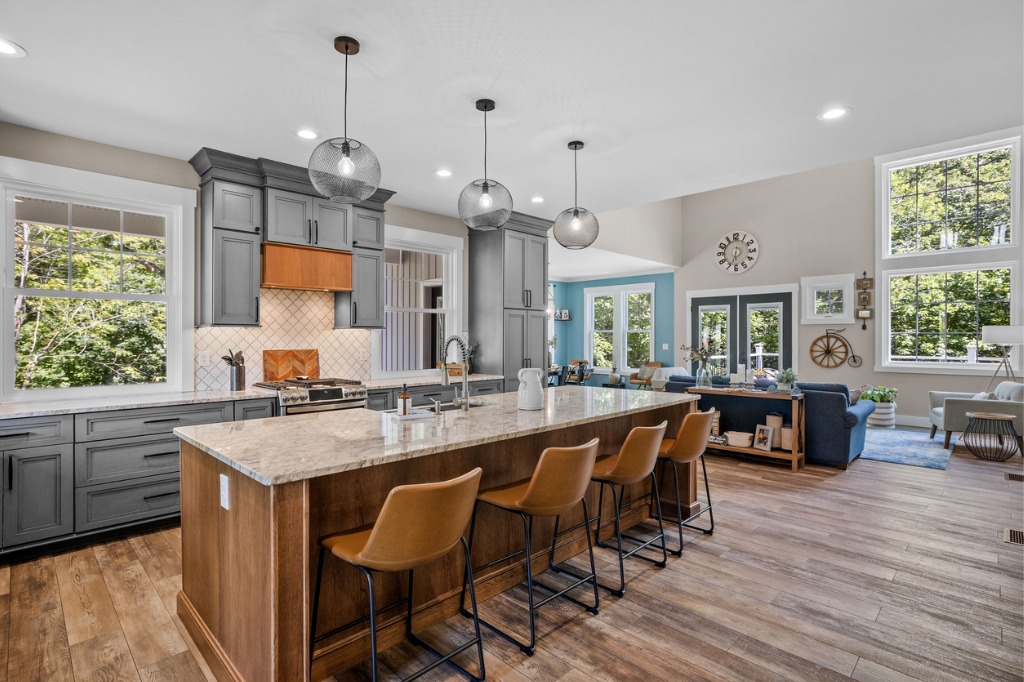
Photo by Wirestock via iStock
Picture this: the common real estate photography lighting scenario. You have a room with built-in cabinets or some other thing that isn’t simply a plain wall. There is a window on one wall, a ceiling light fixture, and maybe even a skylight. There could possibly be furniture in the room.
Typical scene, agreed? The issue comes from the scene's different light values and the recording medium's dynamic range. Those poorly lit areas can be several stops different in exposure or lighting value than under the ceiling light or near the window.
To get good detail in one of the extremes of highlights or shadows, the other end of the scale often suffers. Exposing for a middle value might put both ends of the range out of the recording ability of our camera.
This issue regularly flummoxes newcomers to real estate photography because it doesn’t seem like a big deal at first glance. The reason for that train of thought is because of how our eye-to-brain connection works. We automatically compensate for lighting values and focus changes and movement virtually instantaneously.
No matter how new or sophisticated our camera rig is, though, it simply can’t compete with human vision. Whether using film or digital sensors, there will always be a finite limit to how broad of a range of exposure or focus it can capture that can be clearly discerned in a final image.
In real estate photography, that image is vitally important for causing interest in a property. Poor images in an MLS listing can keep people from making an in-person appointment. For commercial real estate imaging, like an upscale hotel virtual tour or a restaurant website, a poorly exposed image will make people move on to the next place - one that has good pics.
Here is a great YouTube video by Don Tinsley that give some tips about using a shot list, too, so you don’t miss any necessary images:
In that list of needed shots for a real estate listing, you see how many furnished rooms can have these real estate photography lighting concerns. Now let’s go over how to take care of them.
Several Ways to Handle Real Estate Photography Lighting
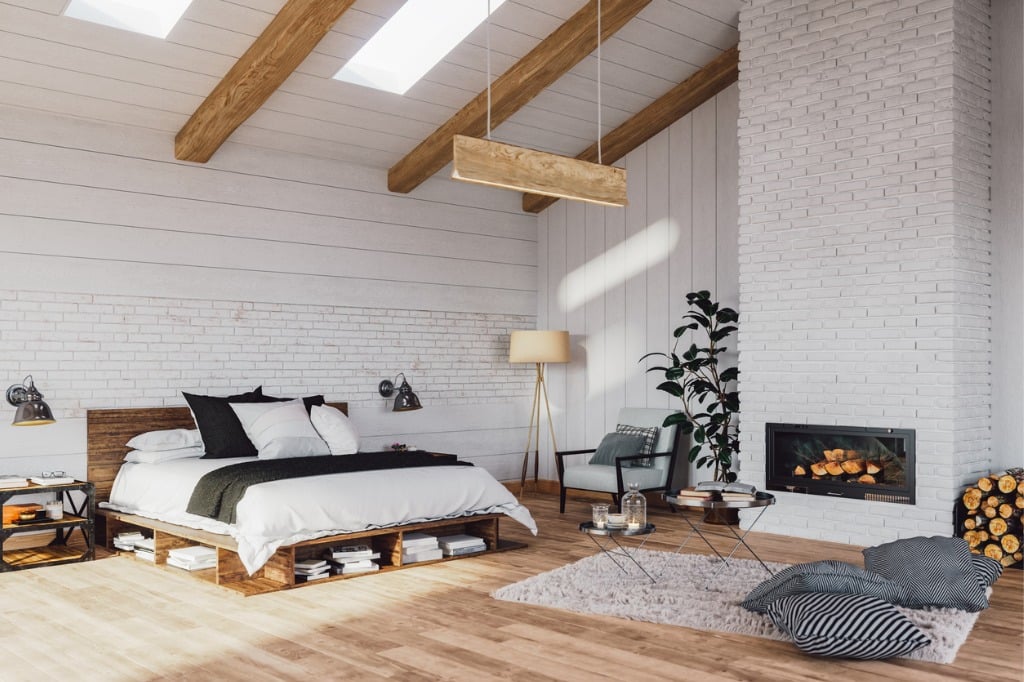
Photo by imaginima via iStock
Several methods can be used to handle these lighting and focus issues in real estate photography.
We can try to adjust for a perfect middle-of-the-road exposure, try some post-processing tricks, or balance out exposure with some real estate photography lighting gear. We can also blend several of these ideas together for a solution.
Regarding focus range, we know how to adjust for deep depth of field. A typical real estate photography rig will probably include a wide-angle lens for capturing the interior spaces.
A stopped-down aperture with a wide-angle lens at a moderate distance can have a deep enough depth of field, but that adds to the exposure issues because we’re using those smaller apertures. Smaller apertures require longer shutter speeds.
Real Estate Photography Lighting Gear
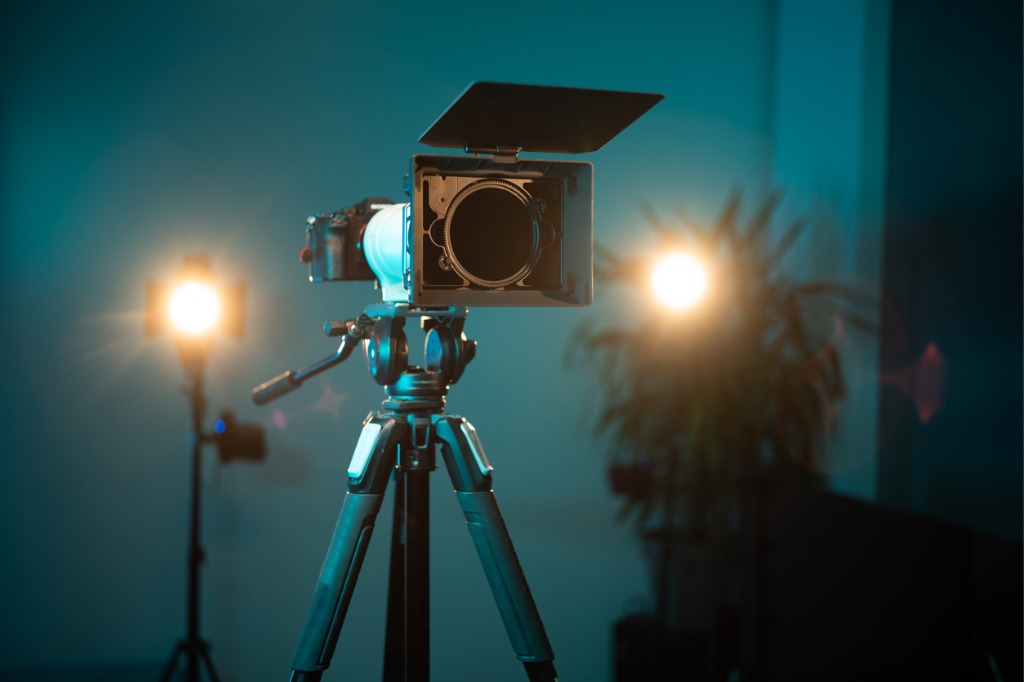
Photo by freemixer via iStock
Let me throw some light on the subject. Simple and inexpensive solutions exist for real estate photography lighting. Two of my favorite solutions are LED panel lights and small mounts to set them wherever I need them.
I like the continuous lighting of portable LED panel lights because positioning them is very straightforward. Turn them on, and you see where they should be and what power level works best.
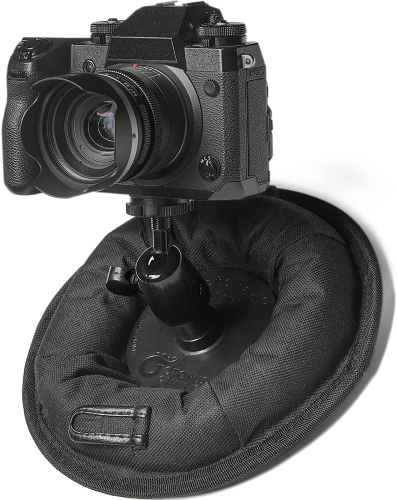
I find it so easy to use LED lights when I can place them anywhere I need them, which is why I also love the Octopad camera mount. With an Octopad or two (or three), I can put a light anywhere in the room being photographed.
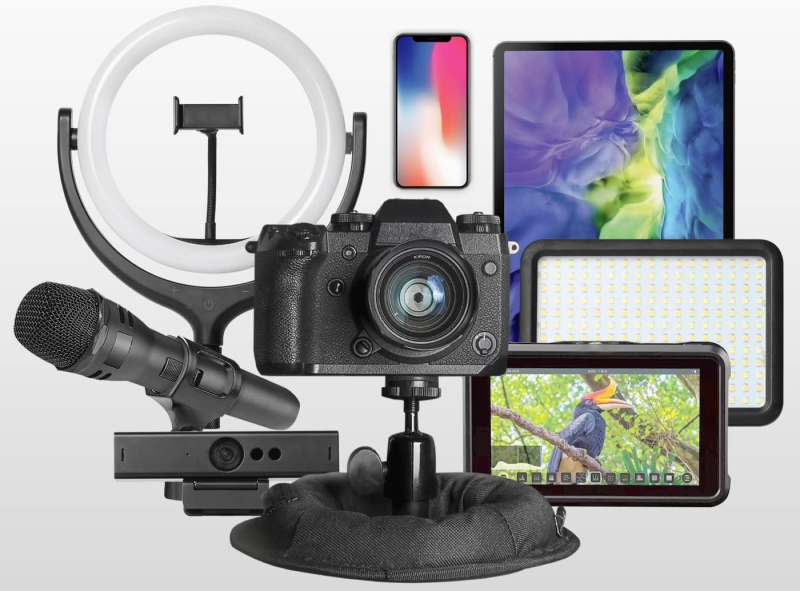
The way these are made, I can quite literally put them anywhere, on any surface, even when that surface is angled up to 45 degrees. Octopad is a small disk of semi-rigid material with a ¼-20 screw on top and a non-slip pad underneath. That screw on top can hold a small ball head that, in turn, holds my light.
You will want to carefully balance out the lighting in the room so that the dynamic range issue is lessened or eliminated and features are not hidden by shadow. This is why I mentioned possibly using two or more portable lights, positioning them, and then adjusting color and intensity to blend in with ambient lighting.
Off-camera and on-camera flash units can also be employed for real estate photography lighting. If you go that way, I recommend using flash systems compatible with your camera’s TTL-OTF exposure features.
Post-Processing Solutions

Photo by andresr via iStock
An excellent solution for all sorts of real estate photography lighting concerns is to use post-processing techniques to help balance out exposures and work with the dynamic range of your gear.
There are two primary methods I’ve used to handle this. One way is to shoot in RAW and use my post-processing program to open up shadow detail and tone down highlights as much as is reasonably possible.
A better way (in my opinion) is to expose and post-process as HDR photography. HDR stands for high dynamic range and is also called bracket and merge. This method requires multiple exposures of any scene, changing the exposure value for each frame—exposures for highlights, mid-range exposures, and shadow exposures.
After capturing the image files, typically 3, 5, or 7 frames at the differing exposure values, your post-processing program is then used to create one balanced file of each scene. The highlights aren’t bunched up, the shadows aren’t blocked, and everything has good detail.
Even with the fantastic workaround of the HDR bracket and merge technique, I still often need a light properly directed to a dark, shadowed area to get adequate detail, such as underneath kitchen cabinets or behind a couch.
Blending techniques and equipment, I can usually handle almost anything I come up against.
The Importance of a Steady Camera
One thing I really do want to stress is the importance of a steady camera. Using smaller apertures for more depth of focus means longer shutter speeds. Wide-angle lenses mean I should level my camera. Any multiple-exposure technique demands a steady camera. Using lights means I may need to put them out of arm’s reach when I’m at the camera.
All of these are reasons why I use good camera support. For the times and places I can’t use a full-size tripod, I can steady my camera and lens with an Octopad, and I almost always use several for my on-location real estate photography lighting needs.
The need for steadiness and lighting placement and the easy solutions I found applies to video and still photography. Use these tips as solutions for the real estate photography lighting issues that come up, and you will get better images with a better workflow.
Other Recommended Photography Gear


