
Essential Astrophotography Questions, Answered
- How to Photograph the Milky Way (in Simple English)
- Take Better Photos of the Stars With These Quick Tips
- Get the Specs and Pricing on the Vixen Polarie Star Tracker Mount
- Quick Tips for Photographing the Full Moon or Supermoon
There are many challenges with astrophotography, to be sure.
But it's a mistake to think that it's not something that the average photographer can master.
In fact, if you're armed with the right gear and have a strong understanding of the fundamentals of photography, astrophotography doesn't have to be any more difficult than taking a regular photo.
In the night sky photography tutorial below, we've answered a few questions about astrophotography camera settings and other common questions.
Astrophotography Camera Settings: What White Balance Should I Use?

The nice thing about digital photography is that if the white balance is off in your images of the night sky, you can always correct it in post-processing.
Even better, shooting in RAW enables you to make white balance adjustments before you open the file in Photoshop, Lightroom or whatever program you prefer to use.
However, getting the white balance just right in-camera will save you the time required to fix it later.
In many cases, the daylight white balance will get you the best results.
Though it seems counterintuitive to use the daylight white balance setting when taking photos of the night sky, it produces the best colors of the stars.
Learn More:
What Aperture is Best for Astrophotography?
When thinking about how to do astrophotography, a primary question people have is what aperture is the best?
Well, the answer to that question is that it depends.
That's because each situation is unique and each lens performs a little differently.
So in some situations, an aperture of f/3.2 might be the best bet while in other situations an aperture of f/8 might work better with many variations in between.
What's important to remember is this: the smaller the aperture, the lower the amount of light entering the lens.
So, if change the aperture from f/2.8 to f/5.6, you'll need to either extend the shutter speed or boost the ISO (or both) to brighten the image to account for the reduced amount of light.
But also keep in mind that while larger apertures allow more light into the lens, they also don't provide as sharp of results as shooting with an aperture closer to the lens's sweet spot.
That is, shooting at f/2.8 might be great from a light perspective, but shooting at f/8 might get you a much sharper photo.
As with many things in photography, finding the right aperture for your astrophotography will require some practice and patience.

Should I Include Foreground Interest?
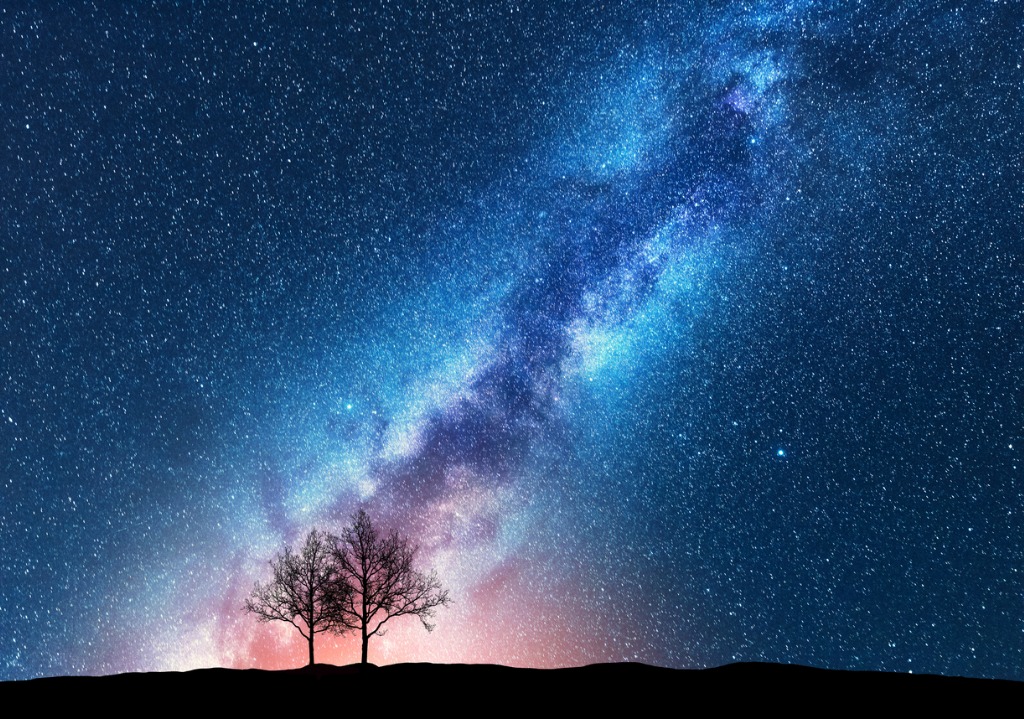
As a beginner astrophotographer, you might find yourself drawn to composing images of the night sky by itself.
And while there's nothing wrong with that, you might also find that if you include foreground interest of some sort, that the photos you create have much more visual appeal.
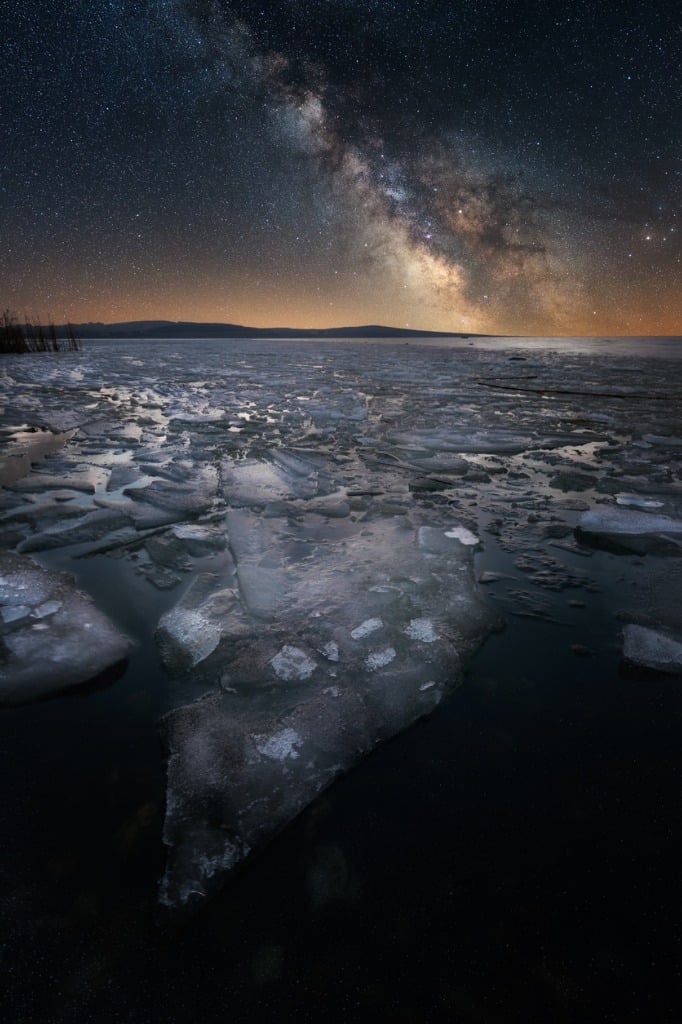
For example, in the image above, the Milky Way is obviously what makes this photo.
However, by taking a vertical shot and including the frozen lake in the foreground, the photo has much more interest and context, making for a far better photo.
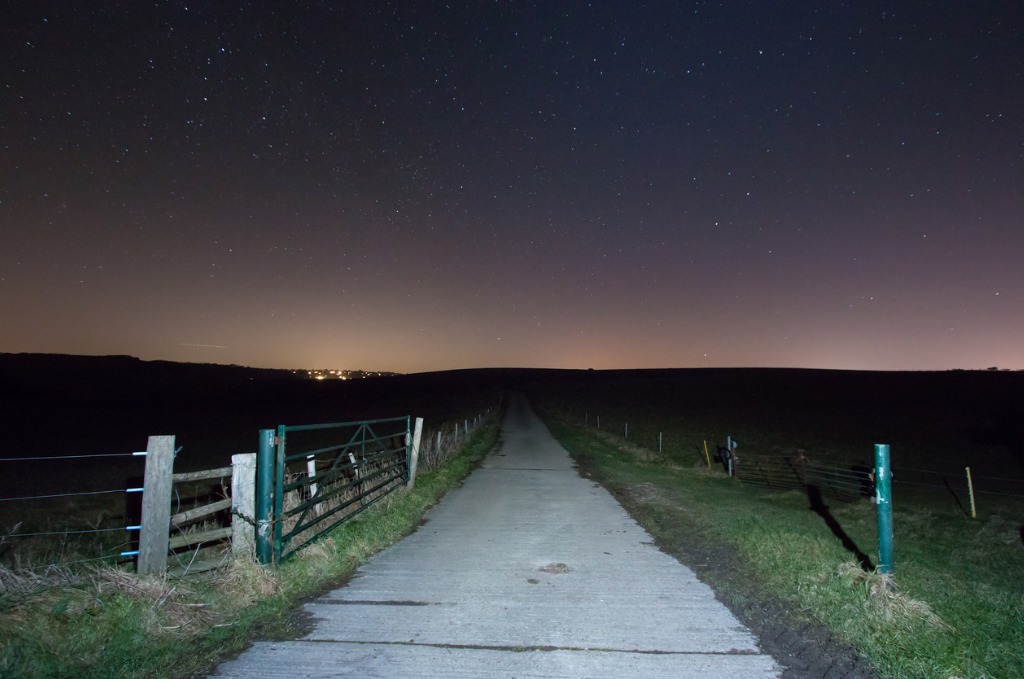
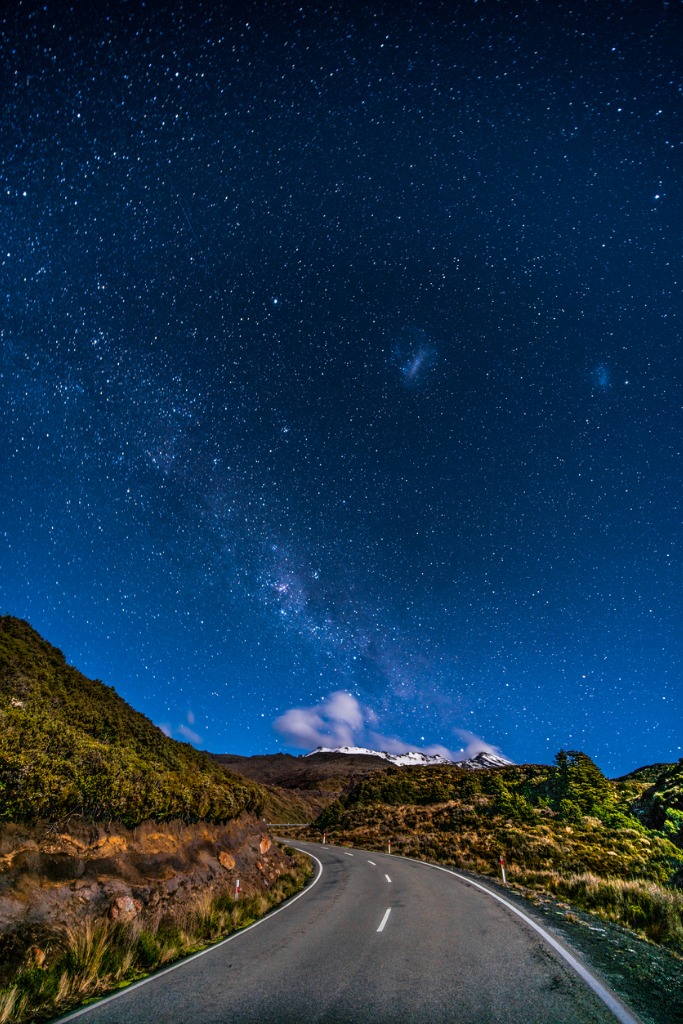
For this tip to work, though, the foreground needs to be interesting...
In the shot above, the foreground is both uninteresting and too bright. The result is a photo that isn't all that appealing.
So, adding foreground interest isn't always a given. Instead, experiment a little, and if it works, great! If not, there's nothing wrong with taking a photo of the sky by itself.
Learn More:
How Do I Avoid Star Trails?
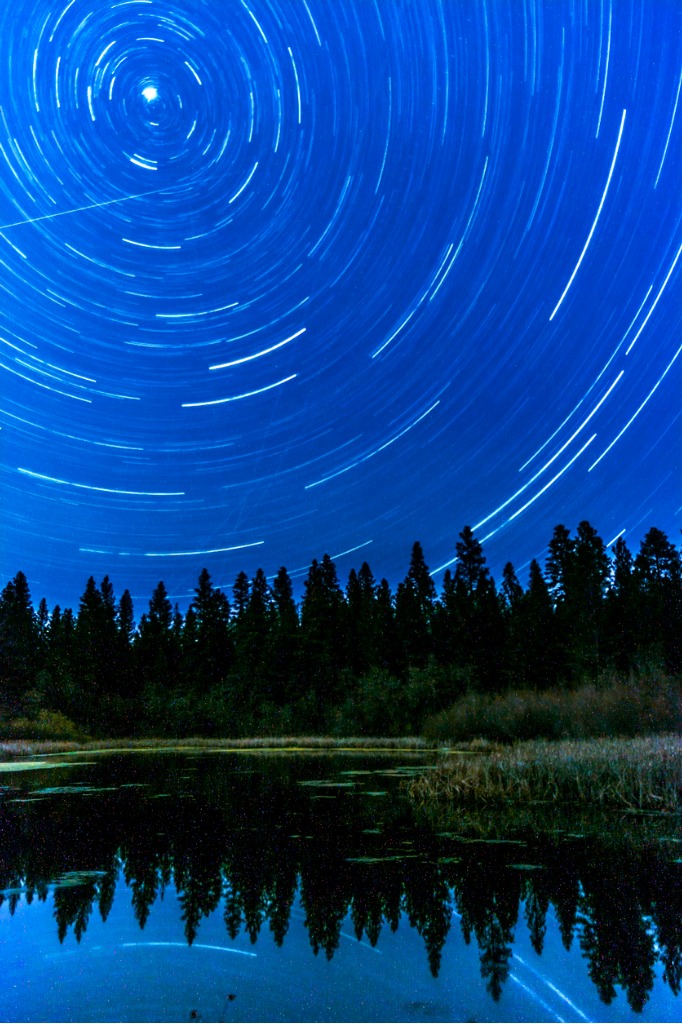
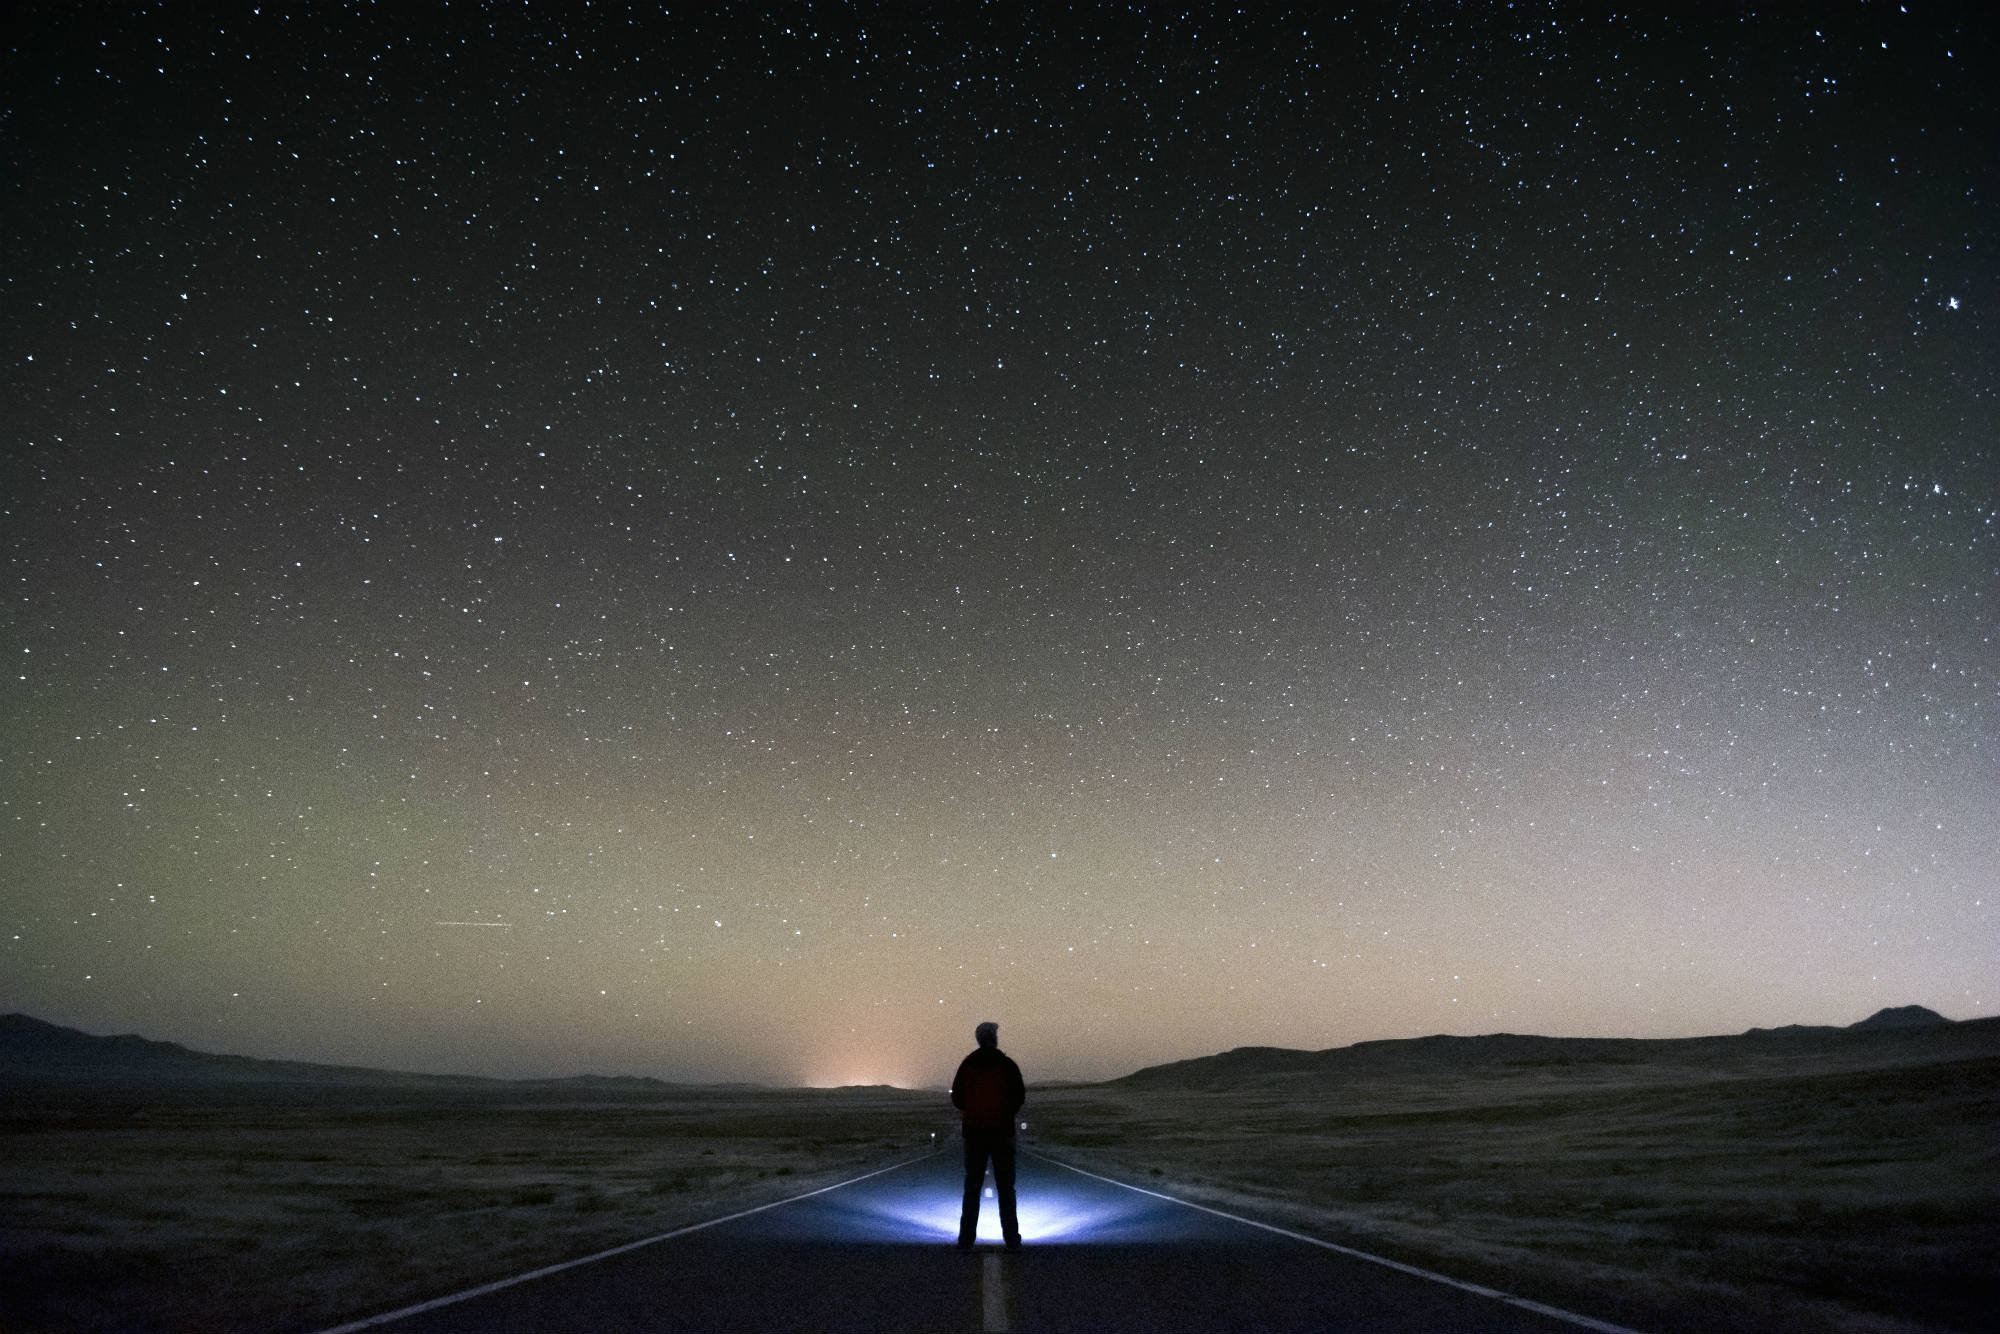
Photos like the one above that show the movement of the stars in the sky are beautiful.
But sometimes you want to capture the scene like you see it - with sharp, pinpoint stars.
There are a variety of ways to go about doing this - some easy and some more complicated.
On the complicated end is to calculate the longest shutter speed you can use and still avoid capturing the movement of the stars.
This is called the 500 Rule, which states that dividing 500 by the focal length of your lens generates the longest shutter speed you can use.
So, if you're shooting with a 50mm lens, you'd have the following formula: 500/50 = 10 seconds.
It's simple math, so it isn't overly complicated, but there is a better way.
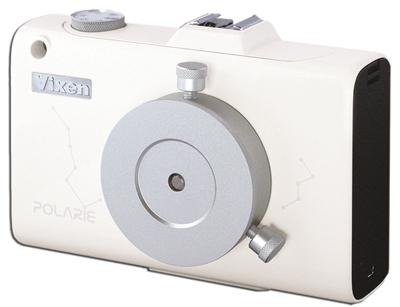
If you use a star-tracking mount like the Vixen Polarie shown above, you don't have to worry about math at all.
In fact, all you have to do is mount the Polarie to a standard tripod, and, in turn, mount your camera to the Polarie.
Then, with the included compass on the Polarie, orient it to face north and use the North Star alignment window to point at Polaris.
Once the Polarie is all set, it will track the movement of the stars in the night sky, thereby eliminating star trails.
The result will be a beautiful, star-filled night sky like the one shown above. It's easy-to-use, easy to setup, and anyone can use it to create gorgeous photos!