
How to Take Killer Photos of the Night Sky
- A Tripod is Essential
- You Need a Light Pollution Filter
- Grab a Remote Release
- Set Manual Focus
- Shoot RAW
- The 500 Rule
- How To Take Good Photos With a Kit Lens
- Mountain Photography Tips
- Best Aperture for Landscape Photography
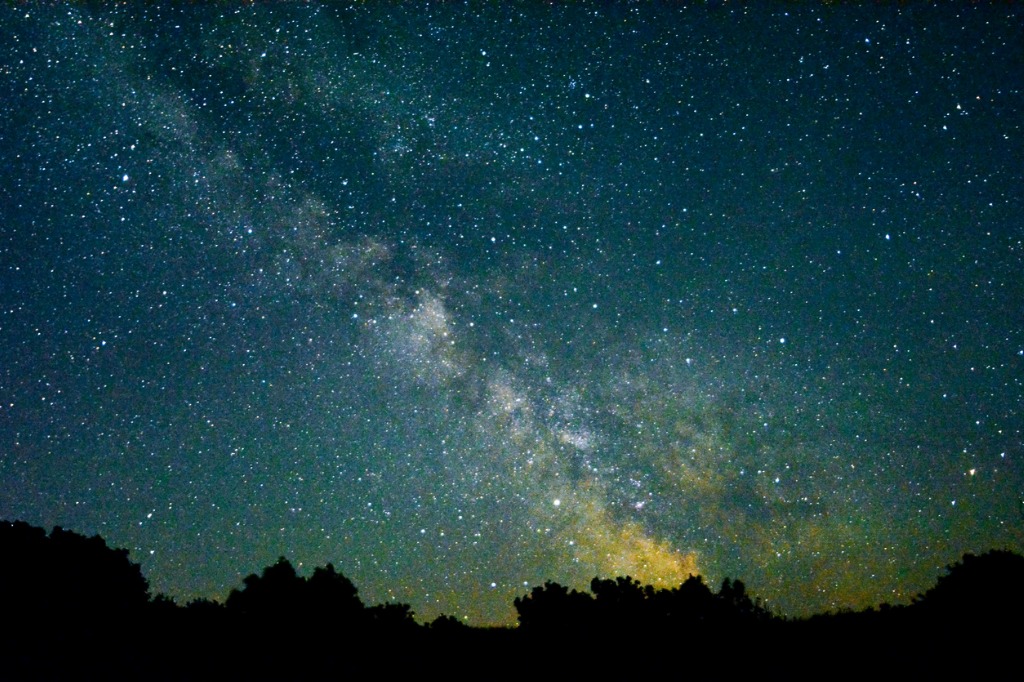
photo by Inner_Vision via iStock
Photos of the night sky, also called astrophotography, are a definite challenge for any photographer, but the results can be outstanding and create a sense of awe and wonder. Some of the challenges can be met by equipment choices and proper use, other challenges are met by astrophotography techniques that have been proven over the course of time.
To be able to create your own beautiful photos of the night sky, follow this list of astrophotography tips and take a look at some of our previous astrophotography tutorials.
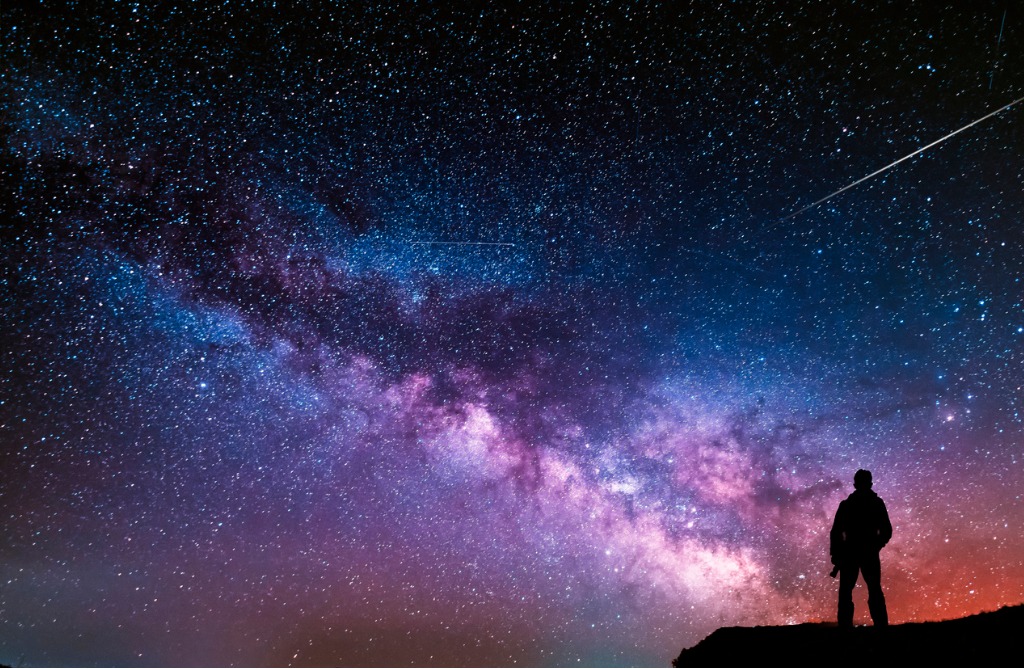
photo by Inga-Av via iStock
Here is the short list of astrophotography tips for making great photos of the night sky:
A Tripod is Essential
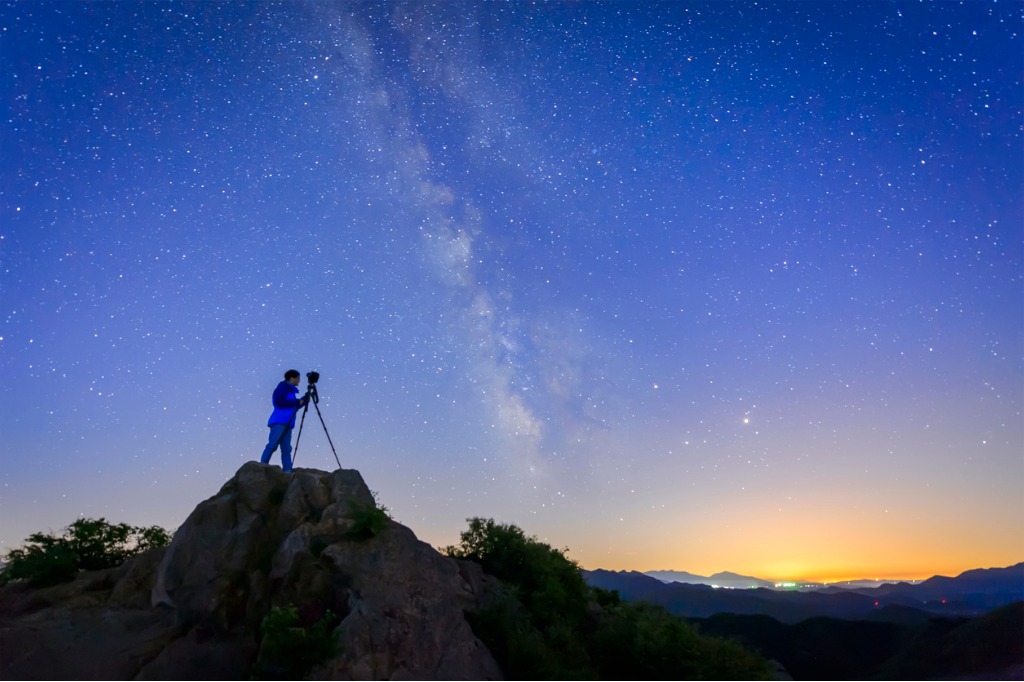
photo by bjdlzx via iStock
Astrophotography is almost always long exposure photography. The exposure times are commonly measured in full seconds but can stretch out to minutes or require stacking multiple exposures for certain astrophotography techniques.
Both long exposures and stacking multiple exposures requires that the camera be completely stable and unmoved. Any movement of the camera during a long exposure will degrade the image with a measure of streaking and any movement during stacking will result in registration errors.
You will want a tripod that is simple to set up and study enough to not have any chance of accidental movement. You will also want to practice good astrophotography techniques such as not touching the camera rig at all during the exposure or exposure sequence.
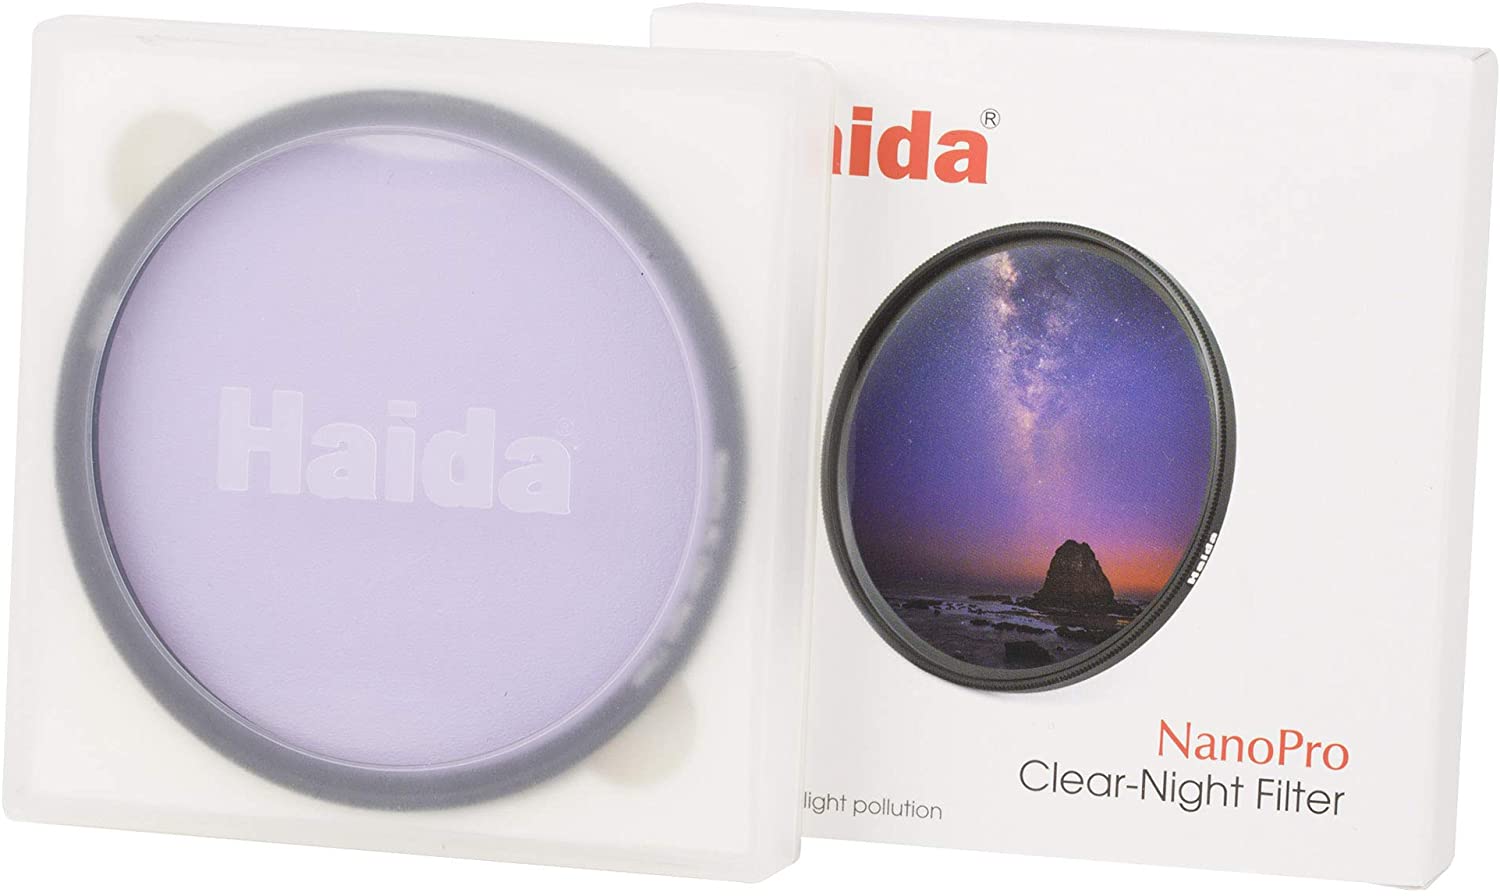
You Need a Light Pollution Filter
Light pollution is a very real concern for a large number of photographers when taking photos of the night sky. Just as smog pollution can obscure a view of any outdoor subject, light pollution can obscure the view of stellar and other night sky objects.
One solution that has been employed for decades of astrophotography is to travel to an area far from any city lights. Astronomers refer to these places as Dark Sky spots.
That requires a lot of time and effort for many of us, so another fine astrophotography technique is to add a filter designed to compensate for light pollution such as the Haida Clear-Night Filter that is available in a variety of sizes. I recommend buying the largest size you need and using a step ring to adapt to your other lenses.
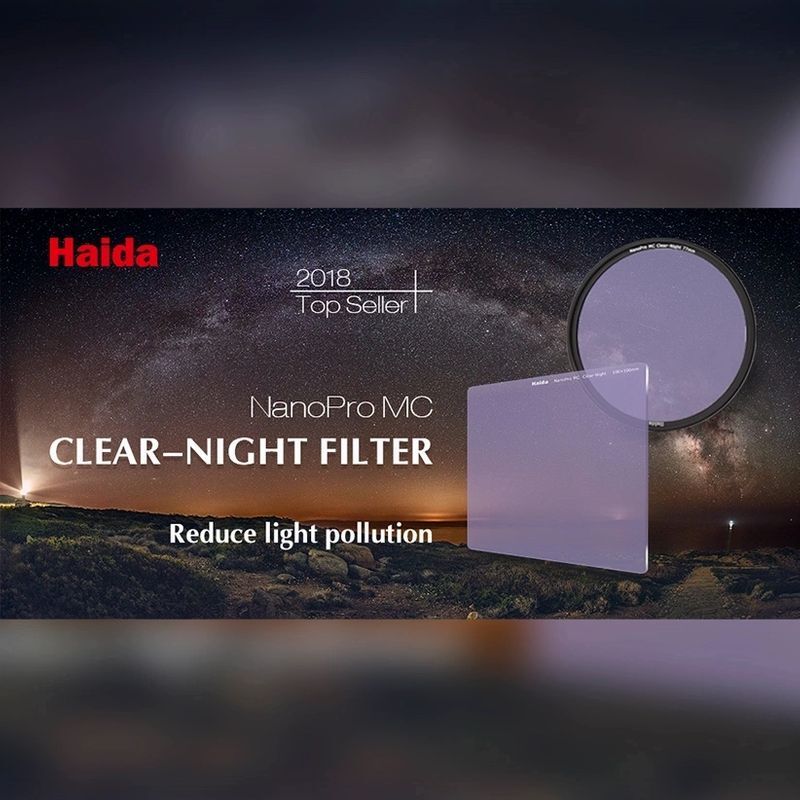
The Haida filter targets the spectrum emitted by sodium vapor and mercury vapor lights that are common in street lights, parking lots, and stadiums, and low CRI LED lights that are found in outdoor household lighting. By blocking or attenuating these wavelengths, the Clear-Night Filter opens up more light from deep sky subjects to be seen and recorded.
Grab a Remote Release
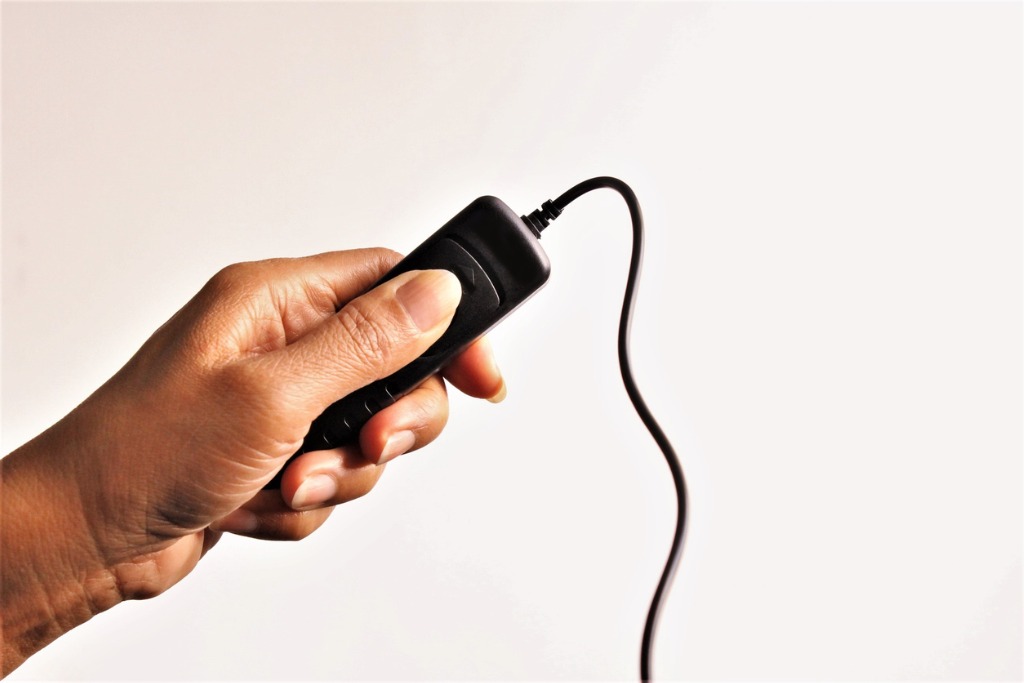
photo by SOMKHANA CHADPAKDEE via iStock
Since we are using long exposure techniques for taking photos of the night sky, an additional item to use with our tripod is a remote release. You really don’t want to touch the camera or tripod at all during these exposures, so having a long enough cord is also essential.
Many remote releases for modern digital cameras have extra features added beyond merely triggering the shutter. Some will also allow multiple exposures to be programmed or can be locked with the shutter open for extremely long shutter speeds.
Learn More:
Set Manual Focus
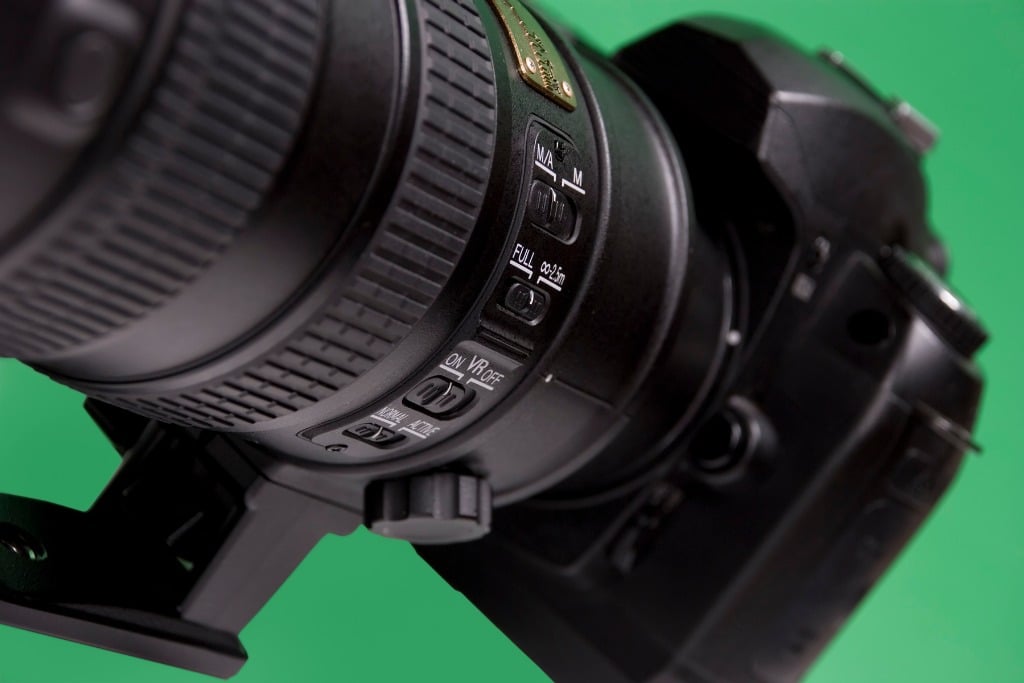
photo by stoffies via iStock
Turn off the autofocus feature of your camera. Everything in the night sky will be well beyond the furthest marked distance on your lens and will be at the lens infinity focus position.
What makes it a little more difficult than merely twisting the focus ring to the infinity position is that the infinity focus position can be a bit variable on many lenses, especially longer focal lengths. That’s why you may have noticed a little bit of play in the focus ring beyond infinity that has nothing to do with Buzz Light-Year.
Since the viewfinder may be a little hard to see for astrophotography, the rear viewscreen is a good option for confirming accurate focus. You might even use the magnify feature of the viewscreen if your camera offers that.
Shoot RAW

photo by Poike via iStock
Whenever we shoot in situations that have a lot of shadow detail area or unusual color temps, RAW is the preferred format for recording the files. Astrophotography certainly qualifies in both of those areas.
Shooting photos of the night sky in RAW means that we will have to post process in order to be able to view them on other devices or share them with others. An advantage of RAW is that we can assign a color temperature or a color profile that looks proper for the subject and also that we can pull out more detail from the dark areas than with a compressed file like JPEGs.
The 500 Rule
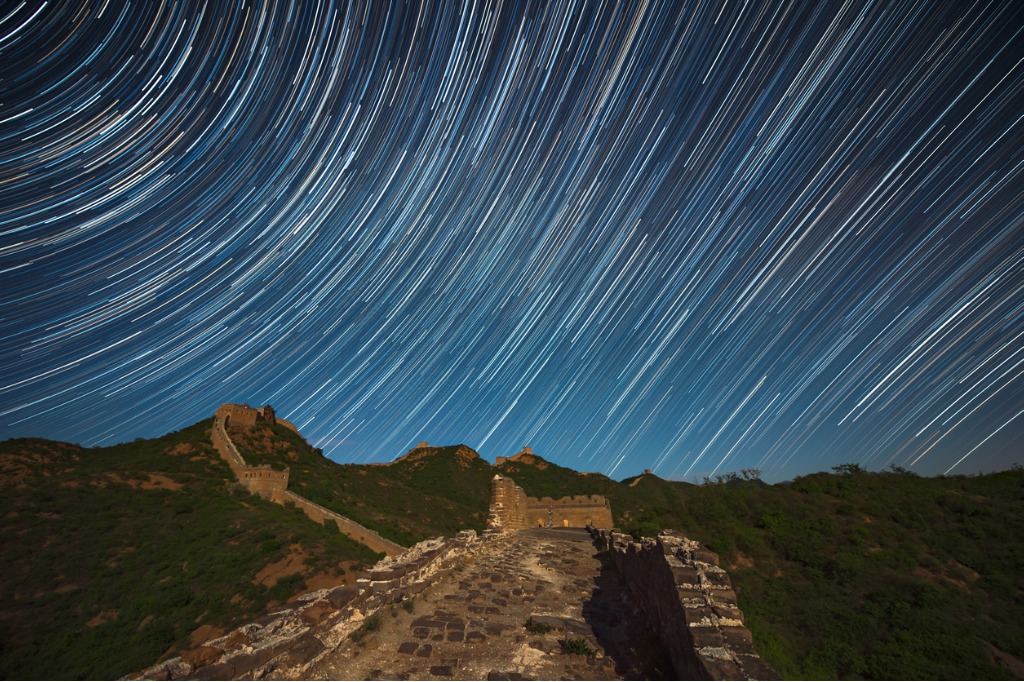
photo by bjdlzx via iStock
Subject motion is a huge issue when shooting photos of the night sky. Technically, it’s actually camera motion. Let me explain.
The deep sky objects appear fixed in the sky but they’re really not. Due to the motion of the Earth, its rotation specifically, that entire backdrop of sky is slowly moving on us. When we leave our shutter open long enough, the spots of light in the sky will eventually be streaked by this motion. How long do we have?
That’s the 500 Rule. 500 divided by the focal length of your lens equals the longest exposure time before stars start to streak, measured in seconds. So, for a 50mm lens, the longest we can expose before that dot becomes a line is 10 seconds. Our 24mm lens gives us 21 seconds and a 135mm lens reduces us to only 4 seconds.
All of this assumes Full Frame 35mm format. If using APS-C or MFT cameras, you will need to adjust the focal length by the crop factor before figuring the 500 Rule. So an 18mm lens on an APS-C camera will not be 28 seconds but rather 18 ½ seconds. Yes, it’s math, but you’re a photographer, you use math successfully all the time.
A motorized equatorial mount like you may have on your telescope is about the only way to get away from being bound by this 500 Rule.
Other Astrophotography Tips
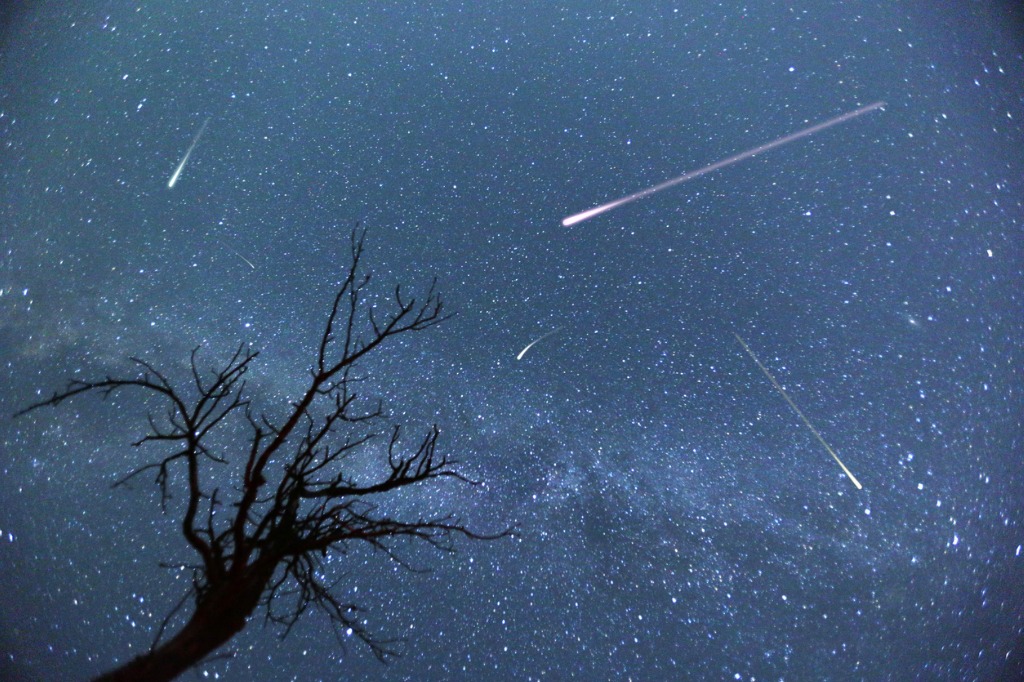
photo by Cylonphoto via iStock
There are other things to consider for capturing great photos of the night sky, check out our other astrophotography tutorials.
Some additional things to consider are what ISO to use, why you don’t want to shoot with your lens aperture either wide open or stopped all the way down, but rather at the ‘sweet spot’ aperture for your lens, and what the astrophotography techniques of image stacking and dark frame subtraction accomplish.
You are up to the challenge of making amazing photos of the night sky. All you need are a few specific items and some great astrophotography techniques in order to succeed.
Learn More: